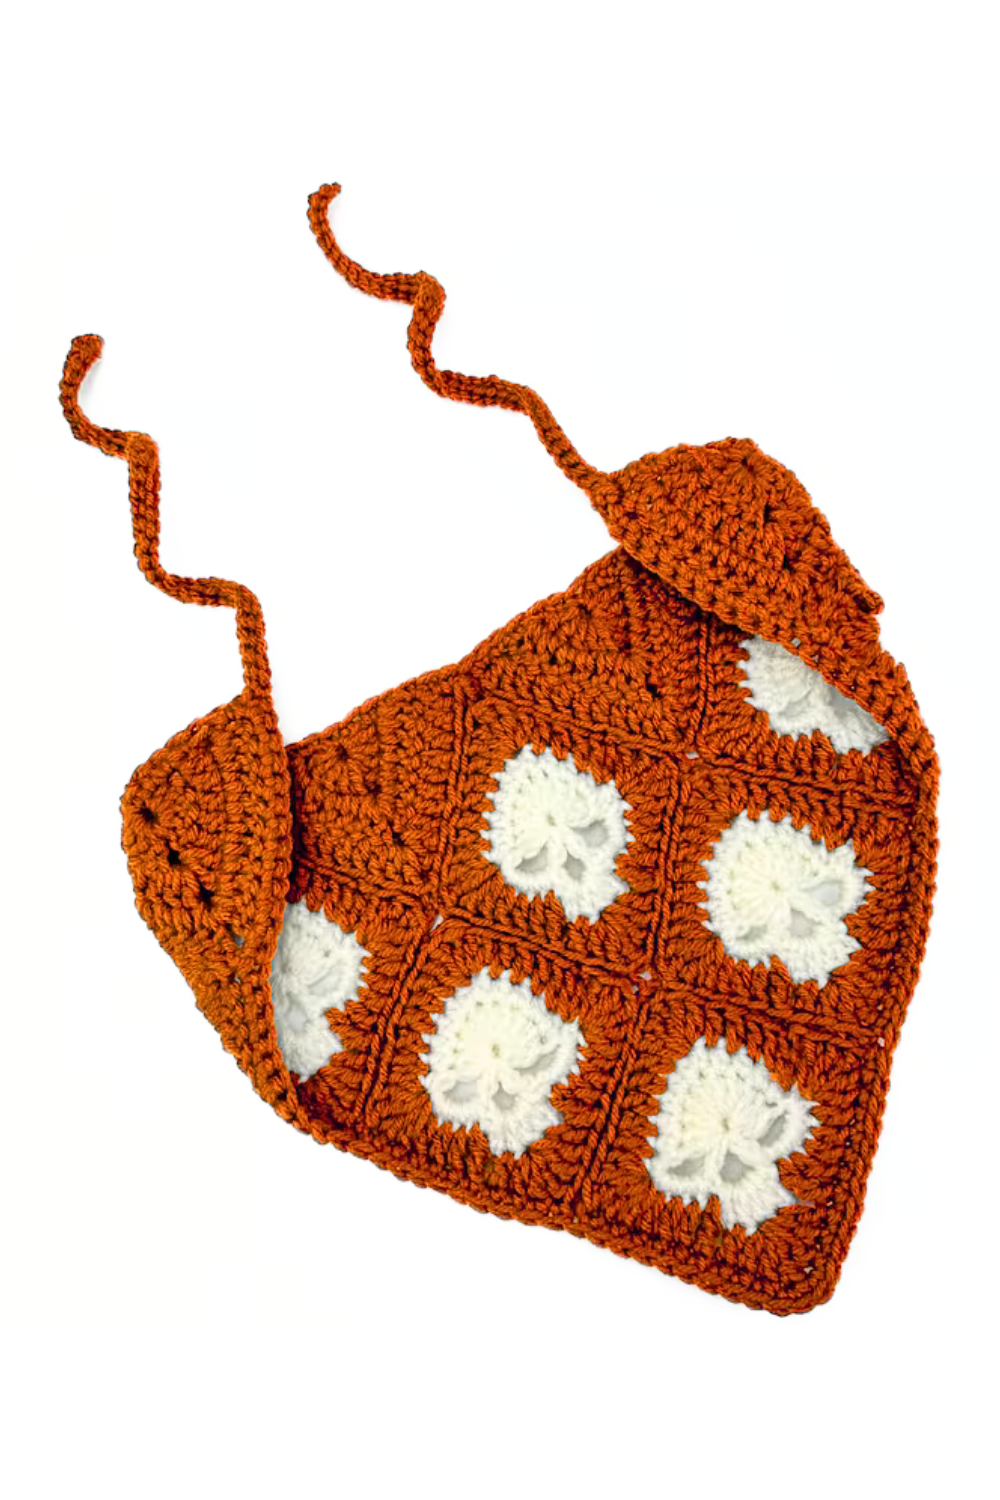
Looking to add a little edge to your crochet collection? This Easy Skull Granny Square Bandana is the perfect project! Combining the classic granny square with a fun, spooky twist, this bandana features a cool skull design that’s both eye-catching and easy to make.
It’s a great accessory for Halloween or anytime you want to rock a unique, handmade look. In this post, I’ll show you how to crochet your own skull granny square with a free, beginner-friendly pattern that’s perfect for adding a bit of flair to any outfit!
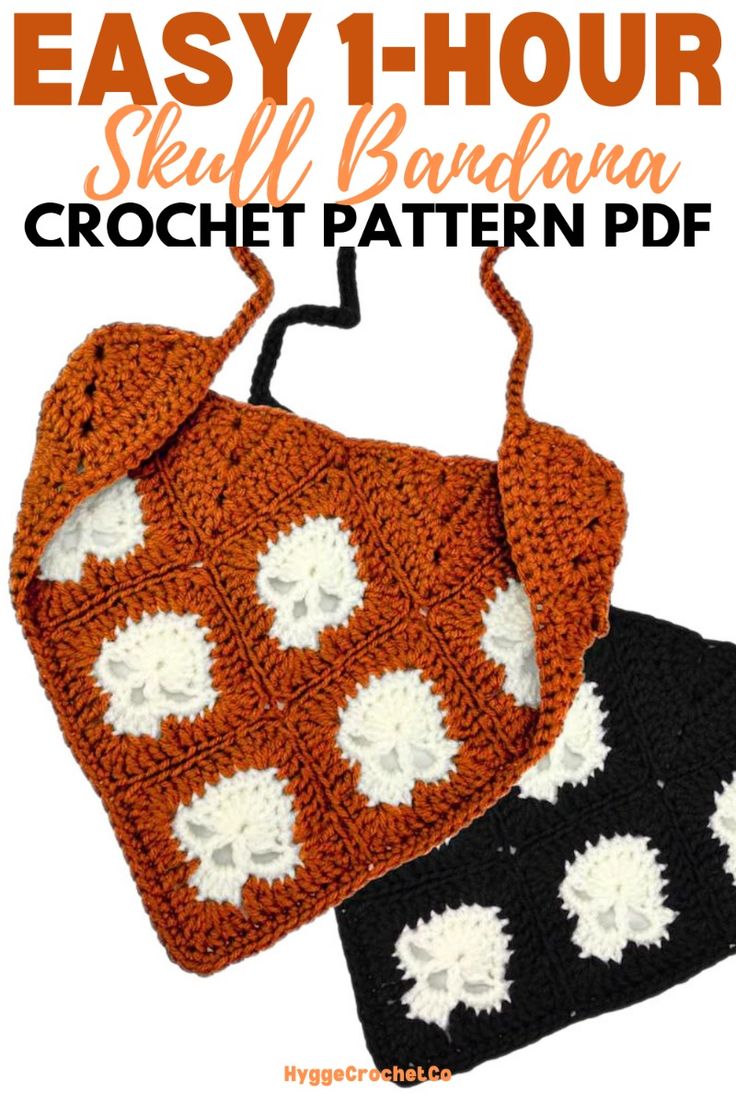
Want the full AD-Free, printable PDF version of this pattern? Click here to get it on Etsy

Add this pattern to your Ravelry Queue and Favorites
For this project, I am using Red Heart Super Saver acrylic yarn, but any weight 4 yarn will work. Acrylic is great for beginners, especially in solid colors. If you’d like a bandana with more drape and a more breathable feel for warm weather, I recommend using a cotton yarn such as Lily Sugar N’ Cream.
Materials
150-250 yds Medium Weight 4 Yarn – Red Heart Super Saver
4.5mm Hook (My FAVORITE crochet hooks!)
Optional – Stitch Markers
Optional – Stitch Counter
Both stitch markers and stitch counters are very helpful for those who easily lose track of their row/stitch counts.
STITCHES & TECHNIQUES
CH: Chain
DC: Double Crochet
SL: Slip Stitch
ST: Stitch
SC: Single Crochet
TC: Treble Crochet
MC: Magic Circle
PATTERN NOTES
This pattern requires sewing with the use of a tapestry needle and can be customized for size by increasing/decreasing the size of your crochet hook.
Skill Level – Easy/Intermediate
Size: 15″ X 9″
Gauge – 20 CH = 4″
This pattern follows US crochet terms.
SKULL GRANNY SQUARE BANDANA CROCHET PATTERN
How to Crochet a Skull Granny Square
R1: To begin, using the desired yarn color for the skull, create a magic circle. CH 2 (this will not count as a ST). DC 10 into the MC. CH 3. DC 1 into the MC. CH 3. DC 1 more into the MC. CH 3 & SL into the 1st ST. Pull gently on the yarn tail to close the MC
R2: CH 1 & HDC 1 into the same space. HDC 1 into each of the next 3 ST. HDC 2 into the next ST. HDC 1 into each of the next 5 ST.
Into the 1st CH 3 space created in R1, SC 5. Into the next CH 3 space (SL 1. CH 2. DC 3. CH 2. SL 1). SC 5 into the last CH 3 space. SL 1 into the 1st HDC ST & tie off.
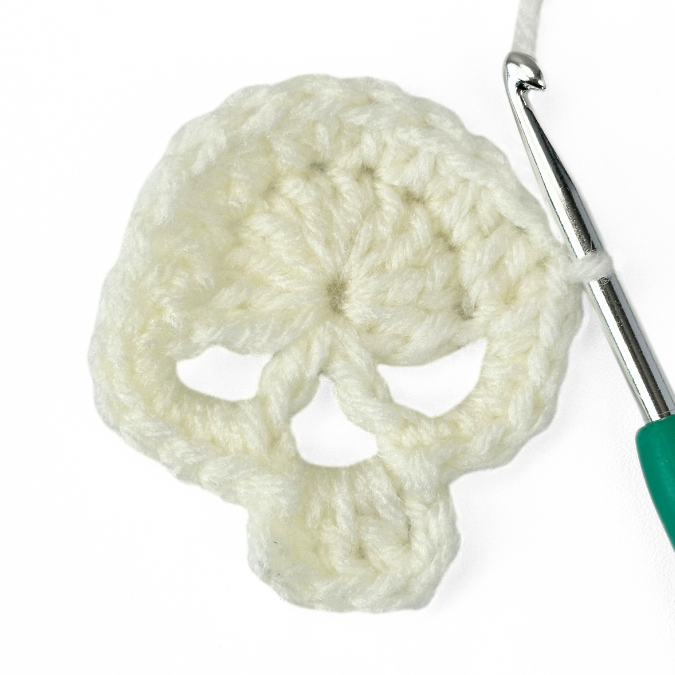
R3: Next, attach the main yarn color to the same space as your last SL. CH 2 (this will not count as a ST). DC 1 into the same space. DC 1 into each of the next 4 ST. Into the next ST (DC 2, TC 1, DC 2). DC 1 into each of the next 5 ST. Into the next ST (DC 2, TC 1, DC 2).
DC 1 into each of the next 3 ST. TC 1. DC 1 (be sure to go into the top of the DC ST rather than into the CH 2 space). Into the next ST (DC 2, TC 1, DC 2). DC 1. TC 1. DC 1 into each of the following 3 ST. Into the last ST (DC 2, TC 1, DC 2). Tie off.
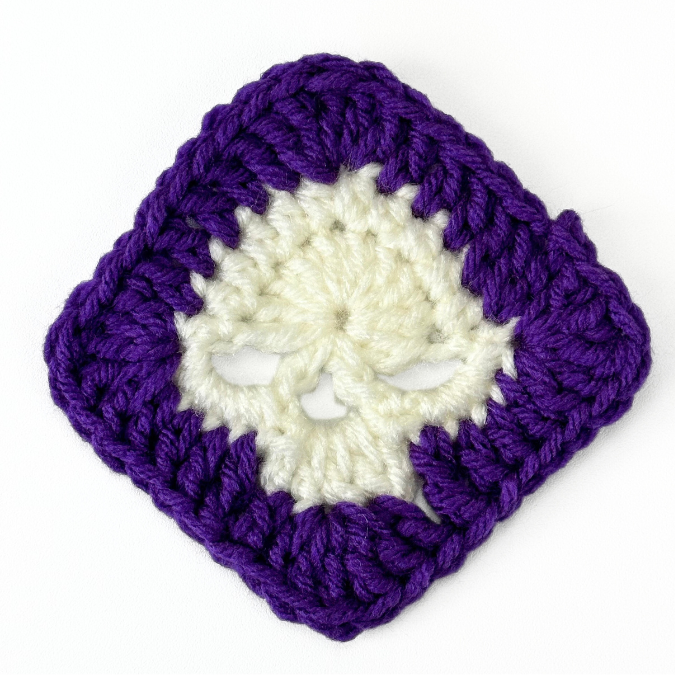
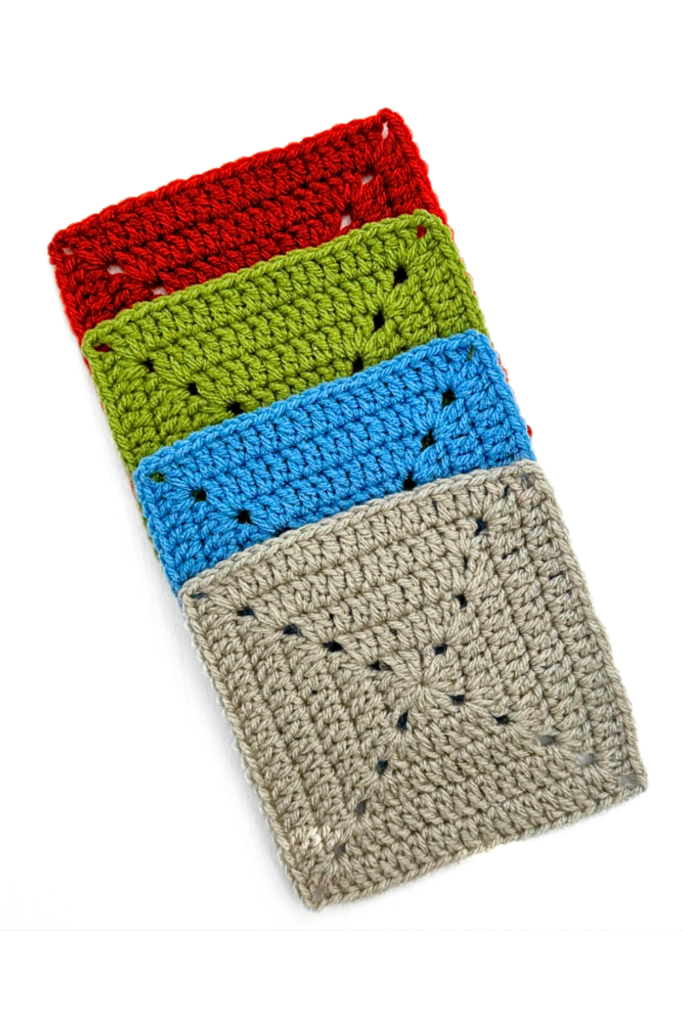
You will need 6 solid squares total to complete your bandana. Repeat R1-3 to create the remainder of the solid squares
Half Granny Square
R1: Using the main yarn color, create a magic circle. CH 2 (this will not count as a ST). DC 5 into the MC. CH 2. DC 5 into the MC. Pull gently on the yarn tail to close the MC
R2: CH 2 (this will not count as a ST), turn. DC 2 into the 1st ST. DC 1 into each of the next 4 ST. Into the CH 2 space (DC 2, CH 2, DC 2). DC 1 into each of the next 4 ST. DC 2 into the last ST
R3: CH 2 (this will not count as a ST), turn. DC 2 into the 1st ST. DC 1 into each of the next 7 ST. Into the CH 2 space (DC 2, CH 2, DC 2). DC 1 into each of the next 7 ST. DC 2 into the last ST. Tie off.
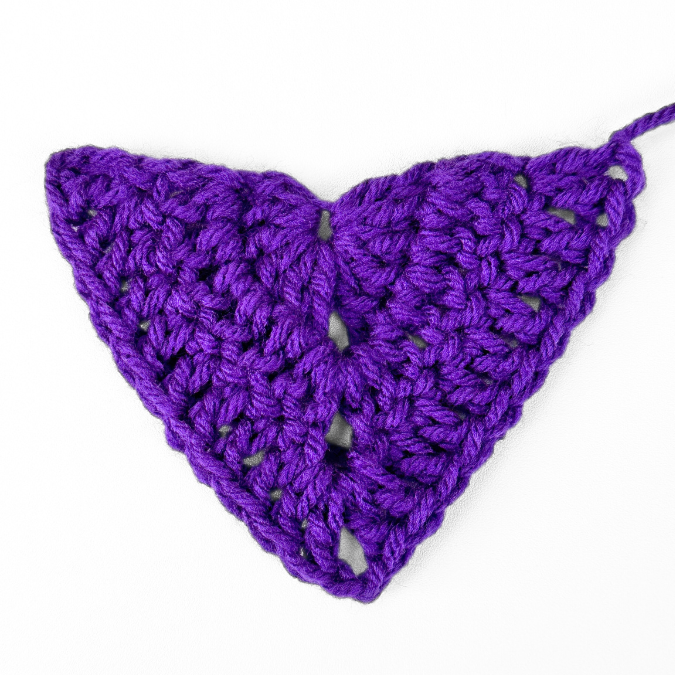
You will need 4 half squares to complete your bandana. Repeat R1-3 to complete the remainder of the half squares
Assembly
To assemble your bandana, first lay out your squares and half squares into the triangular shape of the bandana as shown below.
Then, using the tapestry needle and the main yarn color, sew each piece together using either the mattress stitch, whip stitch, or other preferred stitch for joining granny squares.
Next, attach the same main yarn color to the top right corner of the triangle. CH 41 or until the desired length of your tie piece.
SL 1 into each CH starting in the 2nd CH from the hook. SC 1 into the same space as your chain when you reach the bottom.
SC into each ST/space along the top edge of the triangle until you reach the opposite corner. CH 41 or the same number of chains created for the first tie. SL 1 into each CH starting in the 2nd CH from the hook.
SC 1 into the same space as your chain when you reach the bottom. SC 1 into each ST around the entire remaining edge of the triangle & finish by SL 1 into the bottom of the first chain.
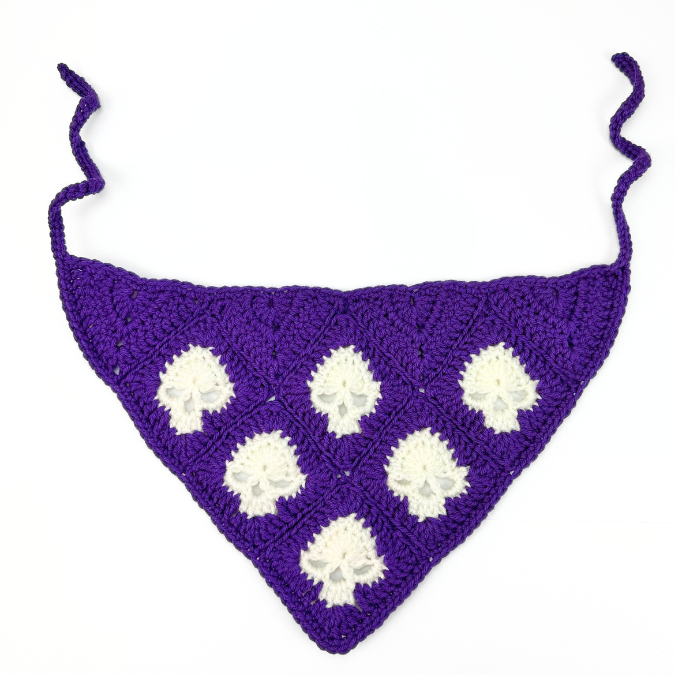
Tie off, weave in any yarn tails, and enjoy your new skull granny square bandana!
In this free crochet pattern, you learned how to make your very own skull granny square bandana!
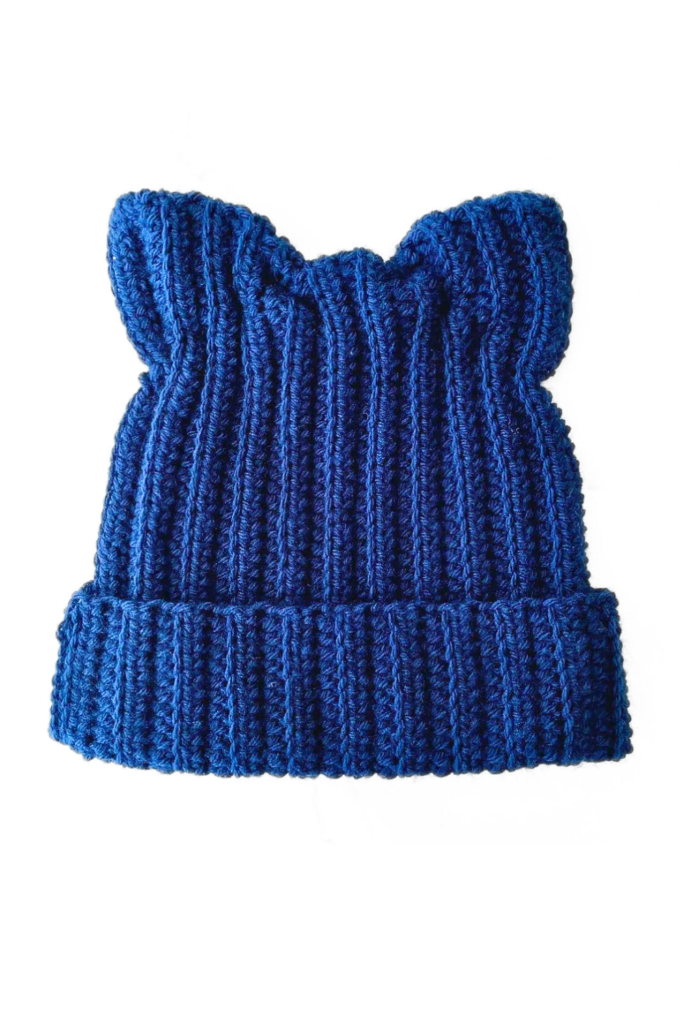
{If you enjoyed this pattern, you’ll love this one: The Easiest 1 Hour Beanie Free Crochet Pattern + Video Tutorial}
©2024 HyggeCrochetCo All rights reserved. This pattern and its contents are for personal use only. Do not copy, edit, redistribute, or sell this pattern. You are welcome to sell finished products with your own photos in small quantities with credit to HyggeCrochetCo. Thank you and enjoy!


