Want the AD-Free, printable PDF version of this pattern? Click here to get it on Etsy
Add this pattern to your Ravelry Queue and Favorites
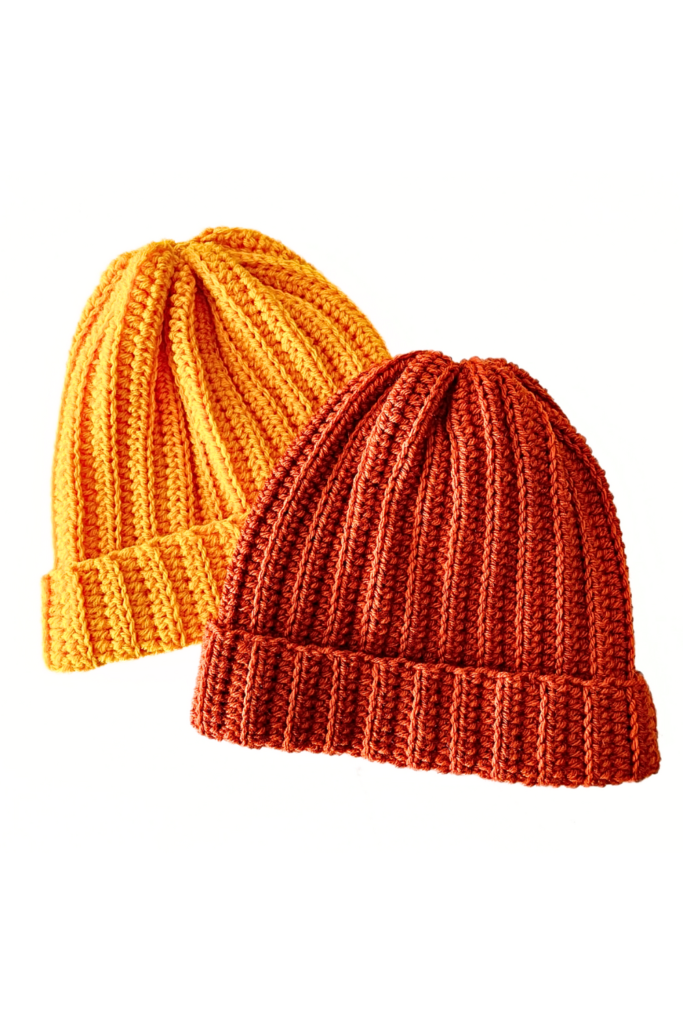
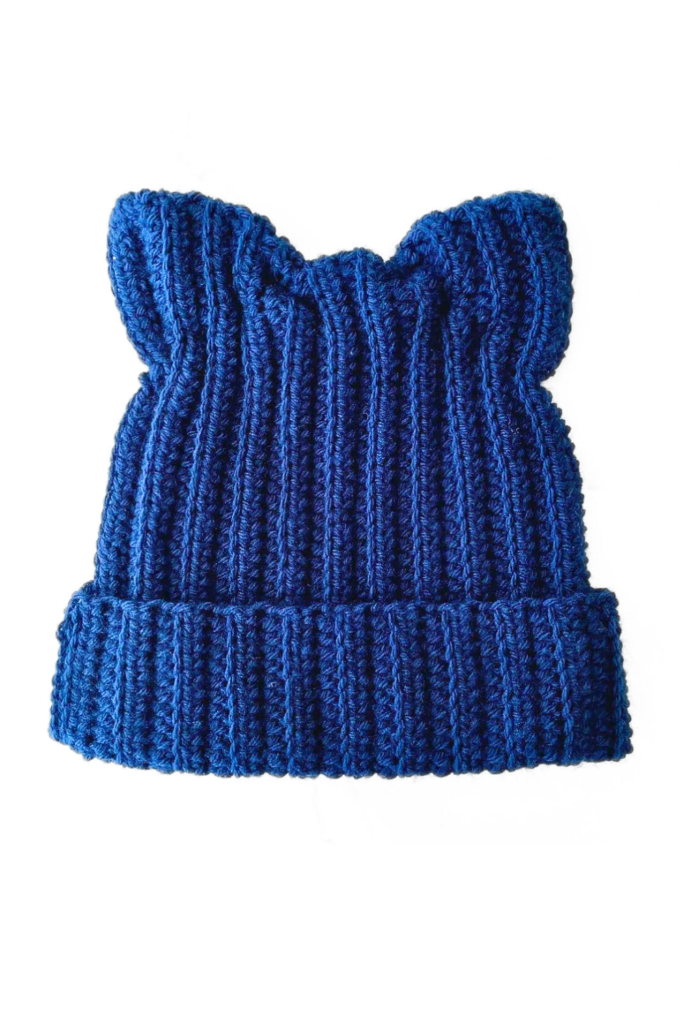
If you’re a cat lover and a crochet enthusiast, you’re in for a treat. In this post, we’ll guide you step by step on how to crochet a cat beanie, featuring adorable cat ears that will make your creation stand out.
Whether you’re crafting this beanie for yourself, as a gift, or to sell, our comprehensive guide and free cat ear beanie crochet pattern will help you create a purr-fect piece that is both cozy and stylish.
Let’s get started on this fun and unique crochet project!
How to Crochet A Cat Beanie
For this project, I’m using Red Heart Super Saver as it is easy to work with, durable, and great for beginners.
Any worsted-weight 4 yarn will work for this project. If you are using a heavier yarn weight, be sure to adjust your hook size and gauge accordingly.
For more on the best yarn for your next project, check out our articles:
The Benefits of Wool Yarn for Crochet
Is Acrylic Yarn Good for Crochet? Pros & Cons of Acrylic Yarn
Is Acrylic or Cotton Yarn Better for Crochet?
Materials
1 Skein Worsted Weight 4 Yarn – Red Heart Super Saver (Soft Navy)
5.5mm Hook (My FAVORITE crochet hooks!)
Optional – Stitch Counter
Both stitch markers and stitch counters are very helpful for those who easily lose track of their row/stitch counts.
Stitches & Techniques
CH – Chain
HDC – Half Double Crochet
SL – Slip Stitch
BLO – Back Loop Only
ST – Stitch
Pattern Notes
This is a general adult-size beanie. The chain will equal the desired length of the hat and the rows will equal the size around.
Add chains for a slouchier look and be sure the length of the rows fits around your head comfortably before joining the sides together!
Skill Level – Advanced Beginner/Intermediate
Measurements – Adult Medium/Large. This hat fits an adult-sized head that is 21-23″. The finished hat is approx. 20″ around by 12″ unfolded.
Gauge – 20 CH = 4″
This pattern follows US crochet terms.
This pattern requires basic crochet skills and knowledge and is suitable for intermediate crocheters. The success of this pattern is not dependent upon gauge or yarn type.
Cat Ear Beanie Crochet Pattern
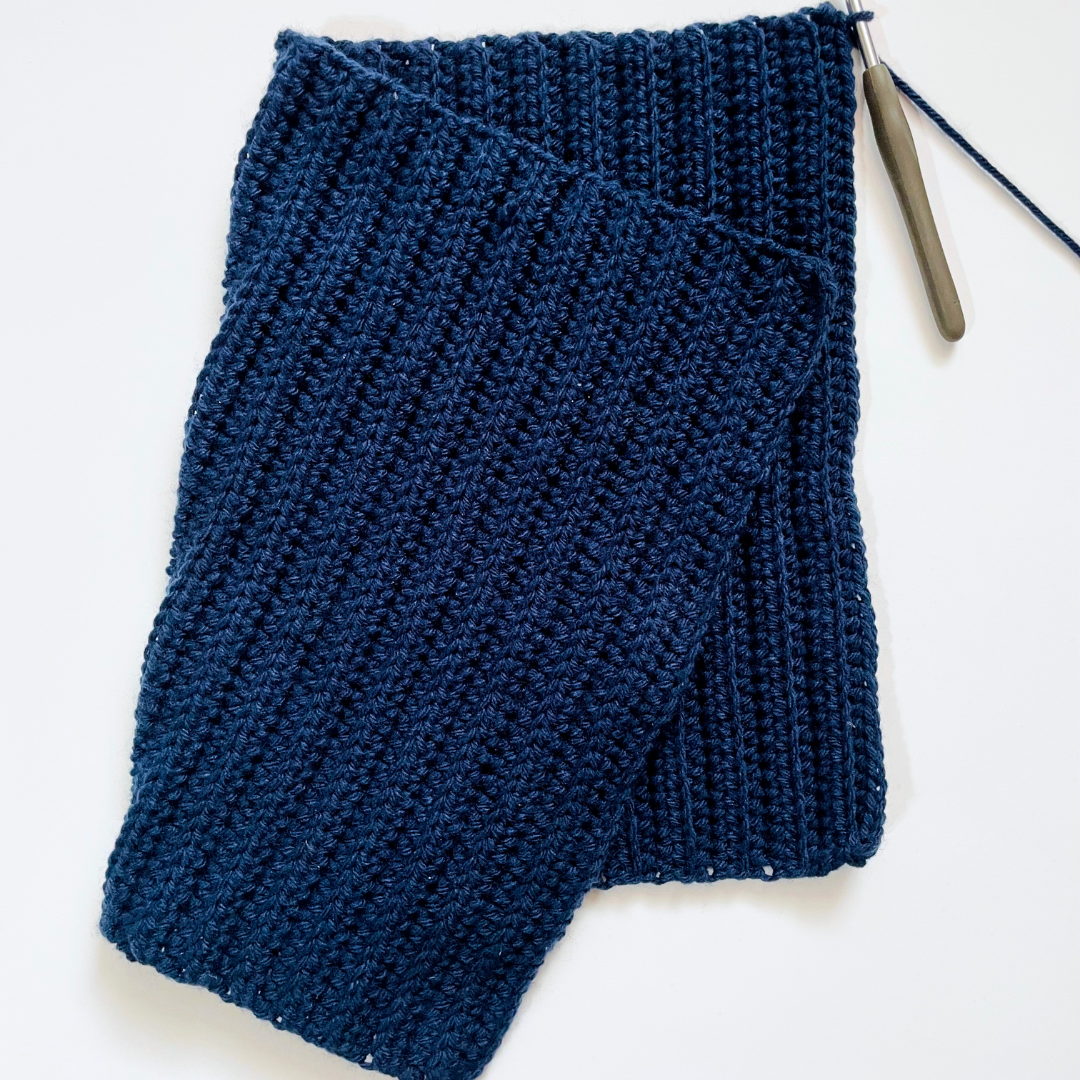
R1: CH 51. This will become the length of the hat. Add or remove chains for a slouchier or more fitted look if desired! HDC 50 starting in the 2nd CH from the hook, turn.
R2: CH 1, HDC BLO into each ST of the row (50), turn.
R3-46: Repeat R2 until you reach R46 or until the length of the rows fits comfortably around your head. You can add or take away rows if you need more or less size. Tie off.
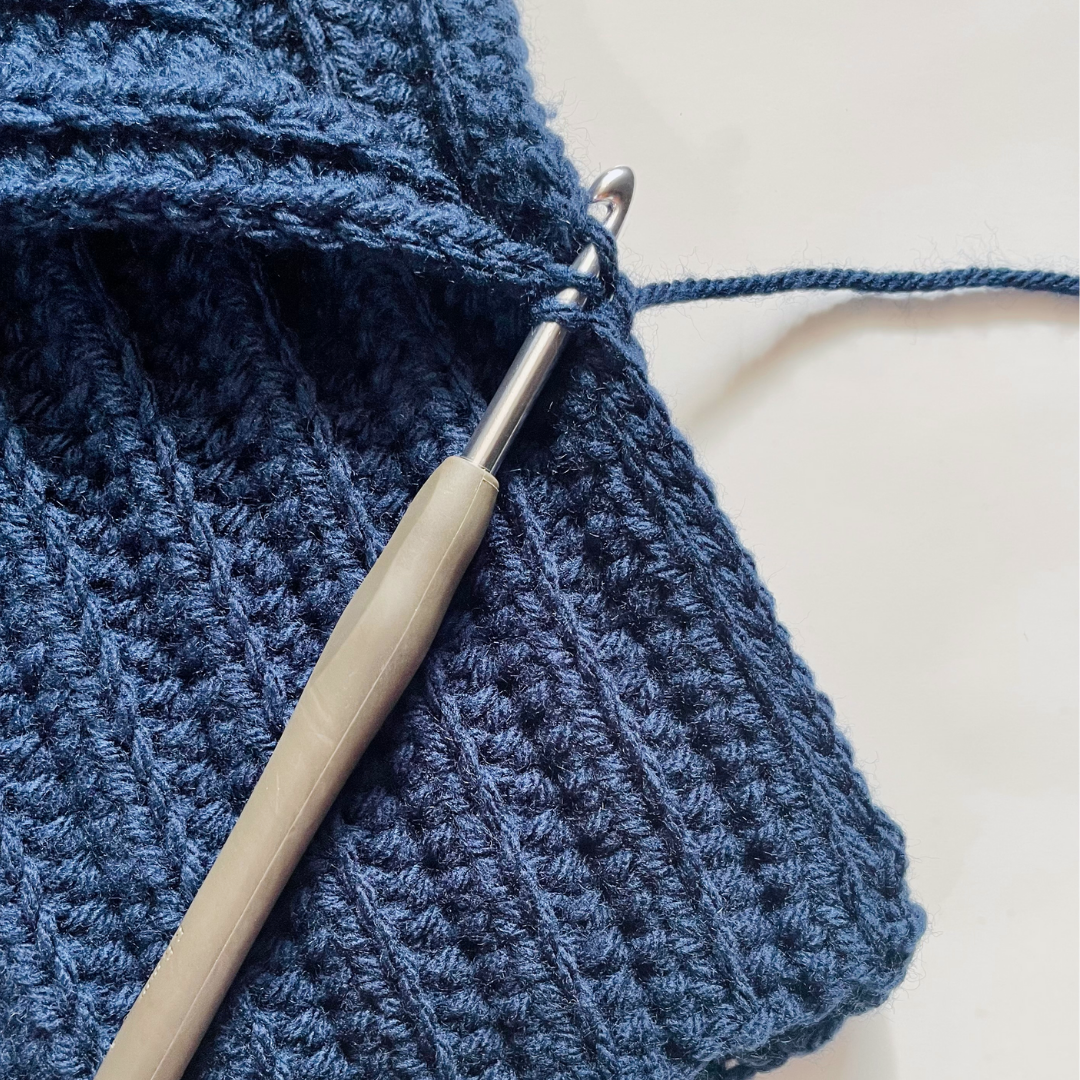
Joining the Sides
In order to join the sides, fold the rectangle together so that the short sides meet. SL the back loop of the front ST with the front loop of the back ST along the long edge and then along one of the short edges. Turn the hat inside out.
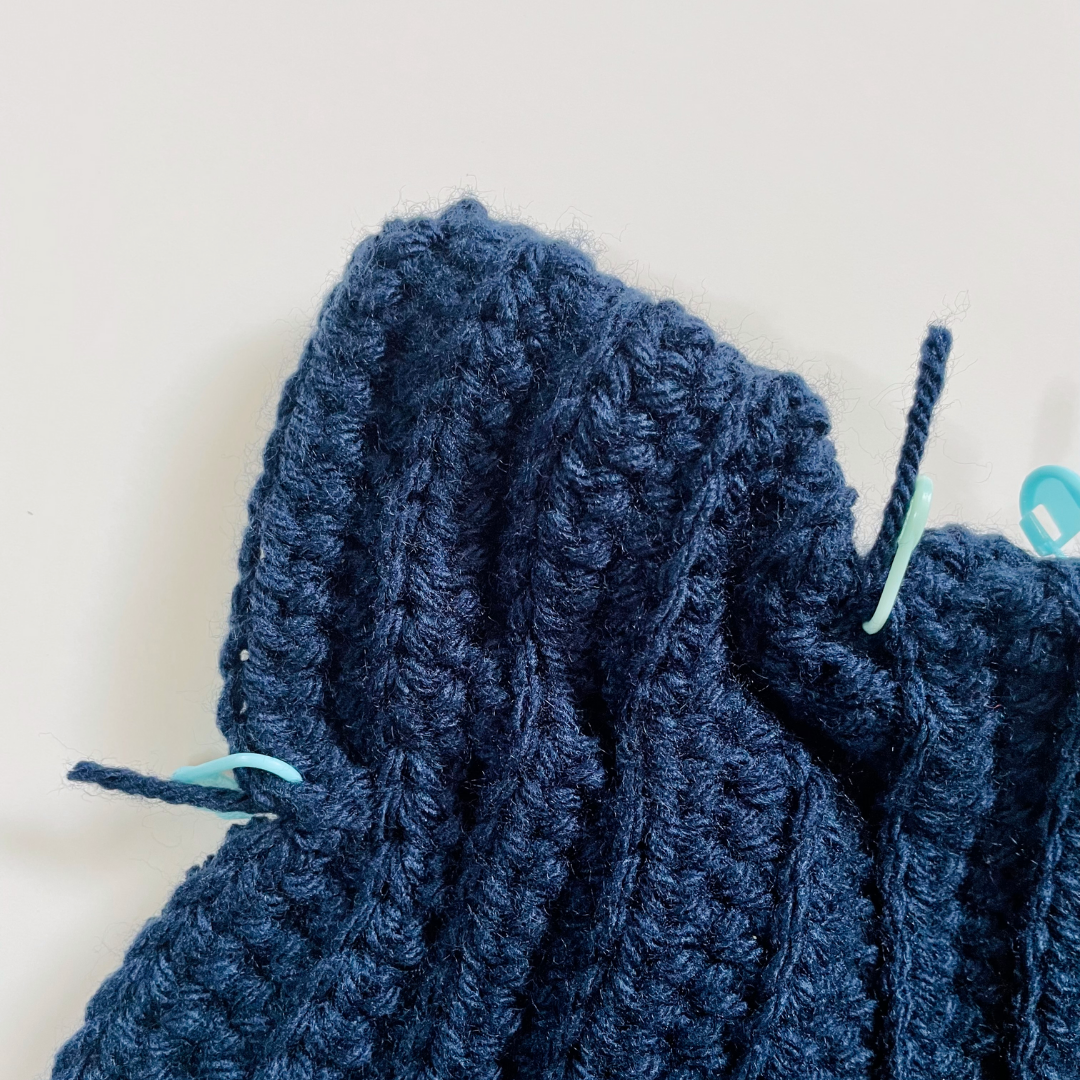
Creating the Ears
To create the cat ears on your beanie, first mark the location of the ears on the top and sides of the top of the hat.
This will ensure that the ears are even. They don’t need to be perfectly spaced, but marking the stitches will make sure that the ears are aligned.
Finally, attach a length of yarn to the tapestry needle and tie the other end to the top stitch marker of one of the ear sections.
Weave the yarn back and forth through the hat until you reach the other stitch marker and pull gently on the yarn to cinch the sides together to create the triangular ear shape.
Tie the yarn off well and weave in any ends. Repeat this step on the other side before removing the stitch markers.
Finally, fold up the brim of the hat and enjoy your new cat ear beanie!

In this free crochet pattern, you learned how to crochet a cat ear beanie!
{If you enjoyed this pattern, you’ll love this one: The Easiest 1 Hour Beanie Free Crochet Pattern + Video Tutorial}
©2024 HyggeCrochetCo All rights reserved. This pattern and its contents are for personal use only. Do not copy, edit, redistribute, or sell this pattern. You are welcome to sell finished products with your own photos in small quantities with credit to HyggeCrochetCo. Thank you and enjoy!