Looking to learn how to crochet a solid granny square as a beginner? You’re in the right place! This easy-to-follow guide will have you creating beautiful granny square patterns in no time.
In this guide, I’ll show you my simple solid granny square pattern that’s great for beginners who are feeling confident. I’ve added plenty of photos and clear instructions to help you master crocheting a traditional solid granny square.
What is a granny square?
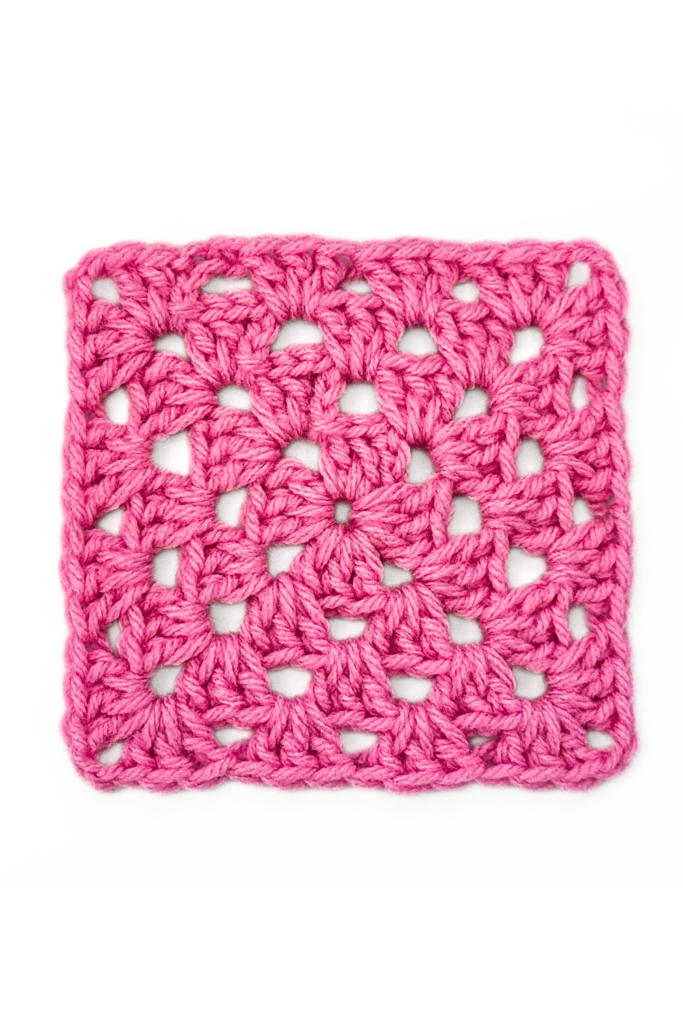
A granny square is a small crochet motif typically made up of clusters of double crochet stitches worked into a ring. This versatile and traditional technique allows crafters to create various shapes and patterns by adding rounds of different colors or textures.
Beginners can easily get the hang of making granny squares due to their repetitive nature and simple stitch combinations. Once mastered, these squares can be joined together to make blankets, clothing, or home decor items, making them a beloved staple in the world of crochet enthusiasts.
What is the difference between a classic and a solid granny square?
A classic granny square typically employs chain spaces to create the corners, resulting in a more open and lacy appearance. On the other hand, a solid granny square fills in those chain spaces with additional stitches, producing a denser and more solid fabric.
While both styles are iconic in crochet designs, the choice between classic and solid granny squares ultimately comes down to the desired aesthetic and functionality of the project.
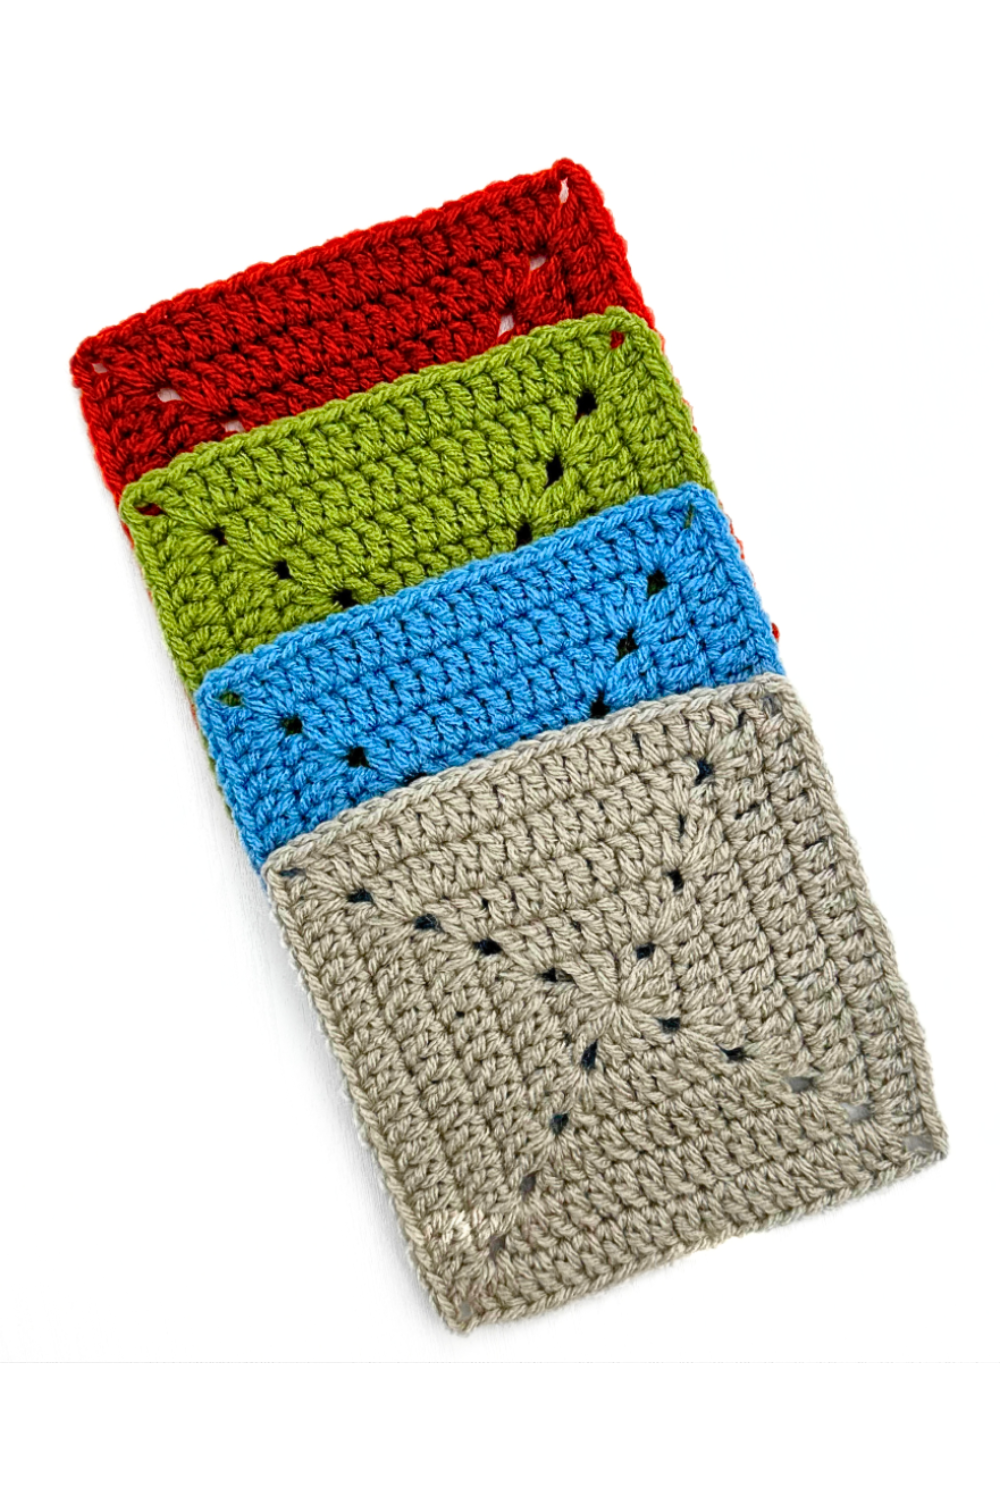
How to Crochet a Solid Granny Square
Upgrade your crochet game with this fun and easy solid granny square crochet pattern! It’s a classic, handmade project that works wonders for cozy blankets and handmade home decor.
The granny square is an essential project to be familiar with especially for beginners learning the basics of crochet. This solid granny square pattern works great with a variety of projects and yarn types and requires minimal blocking.
For this project, I’m using Red Heart Super Saver as it is easy to work with, durable, and great for beginners.
Any worsted-weight 4 yarn will work for this project. If you are using a heavier yarn weight, be sure to adjust your hook size and gauge accordingly.
For more on the best yarn for your next project, check out our articles:
The Benefits of Wool Yarn for Crochet
Is Acrylic Yarn Good for Crochet? Pros & Cons of Acrylic Yarn
Is Acrylic or Cotton Yarn Better for Crochet?
MATERIALS
Medium Weight 4 Yarn – Red Heart Super Saver Spring Green Yarn
5mm Hook (My FAVORITE crochet hooks!)
Optional – Stitch Markers
Optional – Stitch Counter
Both stitch markers and stitch counters are very helpful for those who easily lose track of their row/stitch counts.
PATTERN NOTES
Skill Level – Beginner/Easy
Measurements – Customizable
Gauge – 20 CH = 4″
This pattern follows US crochet terms.
The success of the project is not dependent upon gauge or yarn type. Increase or decrease the size of your project by adding or removing rows.
STITCHES & TECHNIQUES
CH: Chain
SL: Slip Stitch
ST: Stitch
MC: Magic Circle
DC: Double Crochet
HDC: Half Double Crochet
Solid Granny Square Pattern
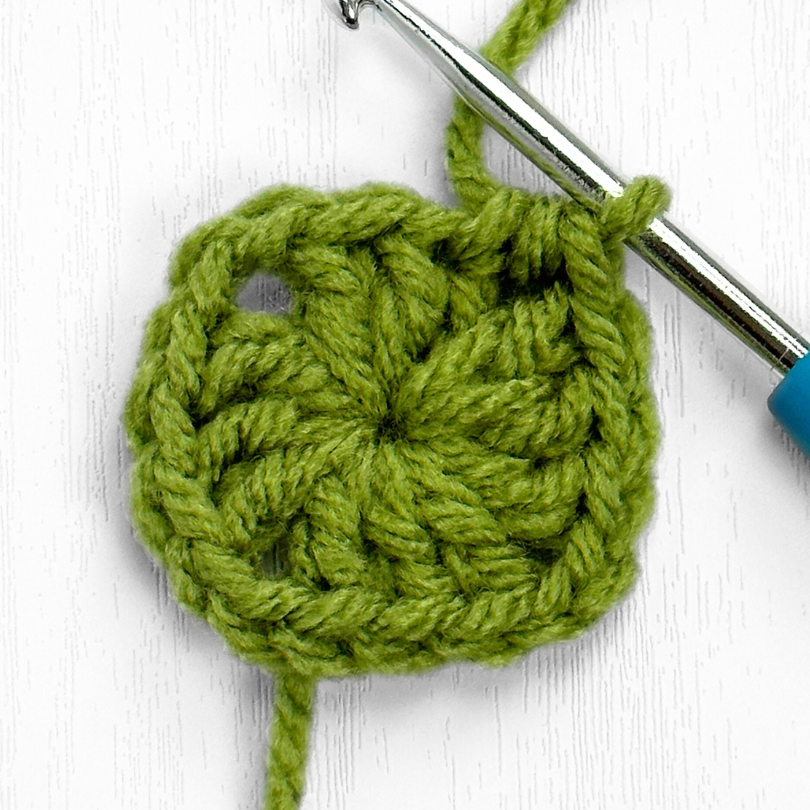
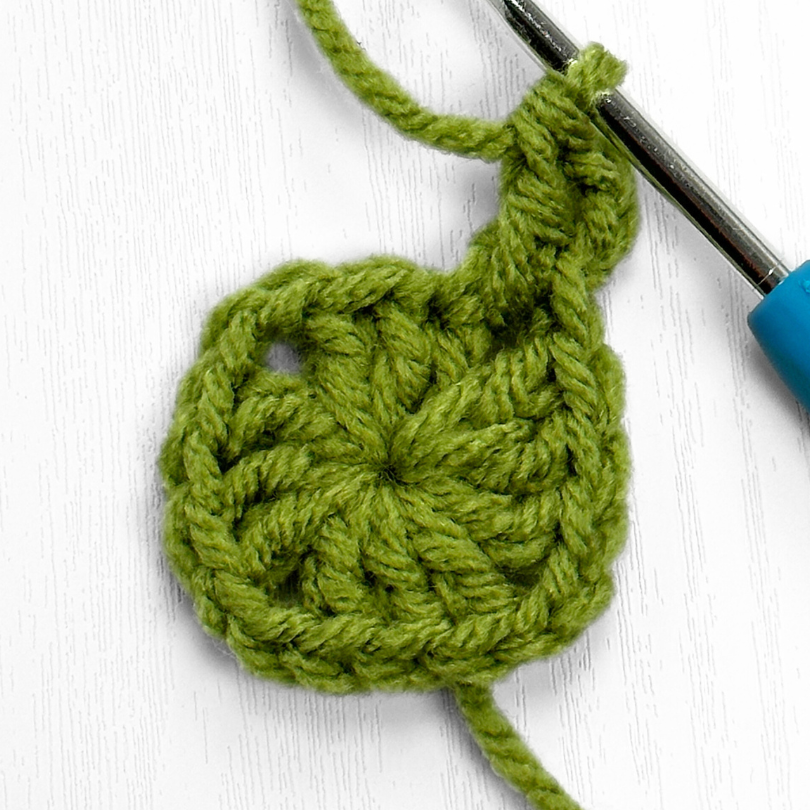
R1: To begin, create a magic circle. CH 3 (This will count as 1 DC), DC 2 into the MC [CH 2, DC 3] X3. HDC into the top of the CH 3 space to finish the round.

R2: CH 3, DC 1 into the space created by the HDC of the previous round. DC 1 into each of the next 3 ST. [Into the space created by the CH 2 of the previous round (corner): DC 2, CH 2, DC 2. DC 1 into each of the next 3 ST] X3. HDC into the top of the CH 3 space.
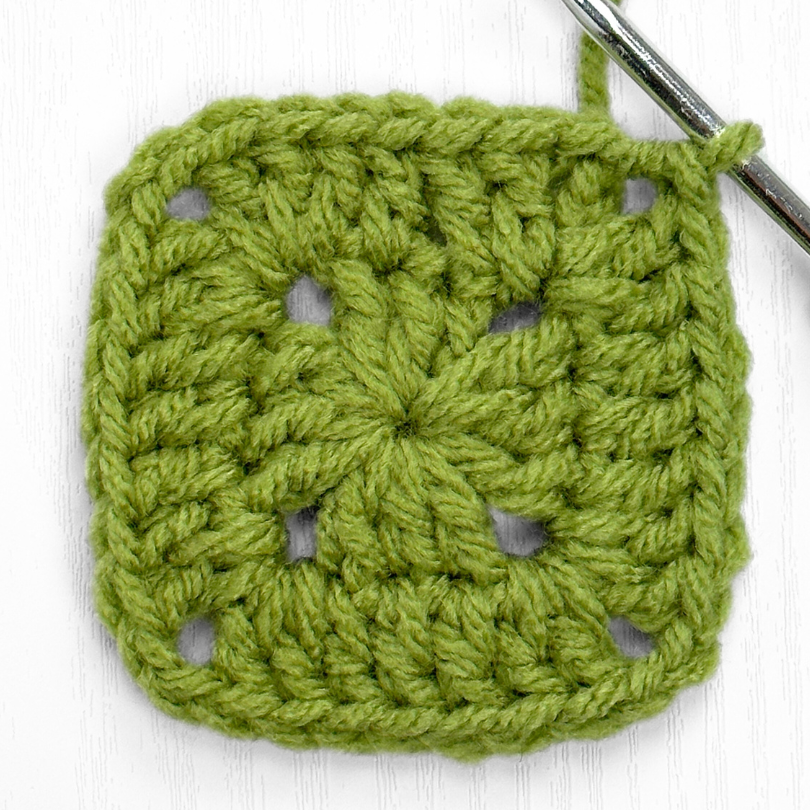
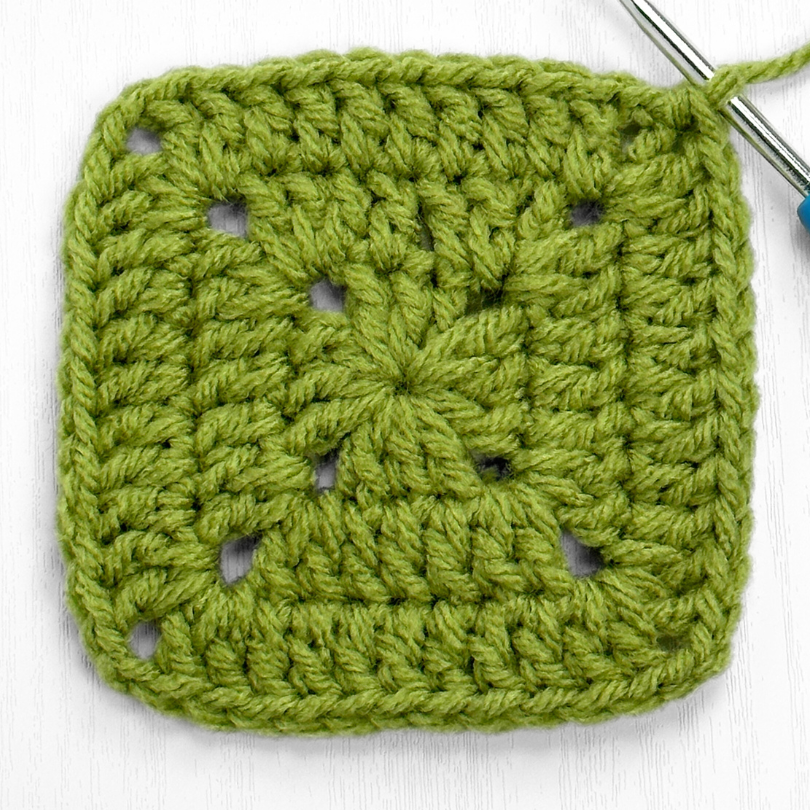
R3: CH 3, DC 1 into the HDC space. DC 1 into each of the next 7 ST. [Into the CH 2 space (corner): DC 2, CH 2, DC 2. DC 7] X3. HDC into the top of the CH 3 space.
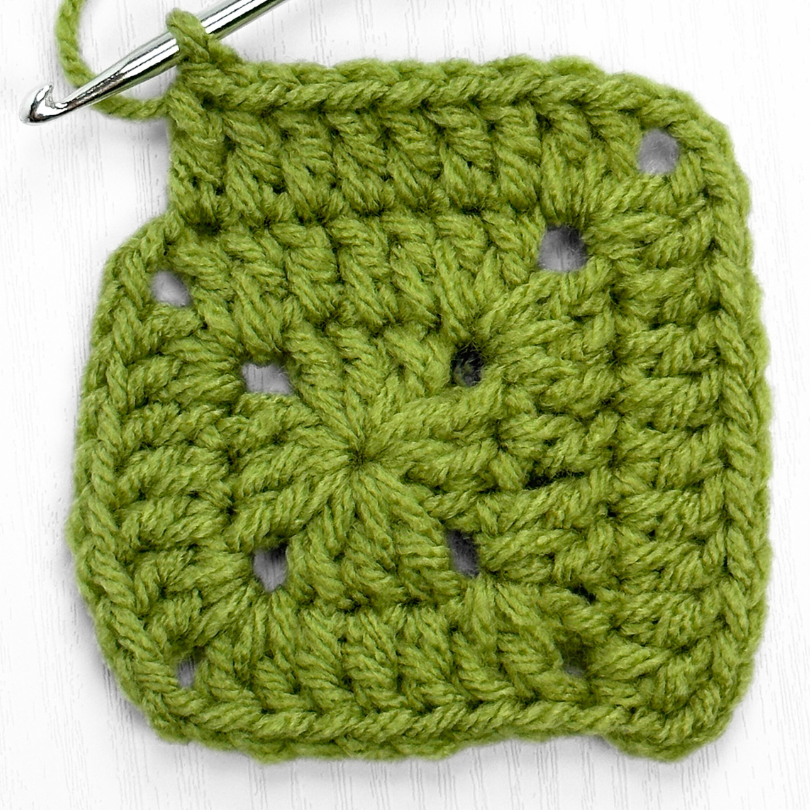
R4: CH 3, DC 1 into the HDC space. DC 1 into each of the next 11 ST. [Into the CH 2 space (corner): DC 2, CH 2, DC 2. DC 11] X3. HDC into the top of the CH 3 space.
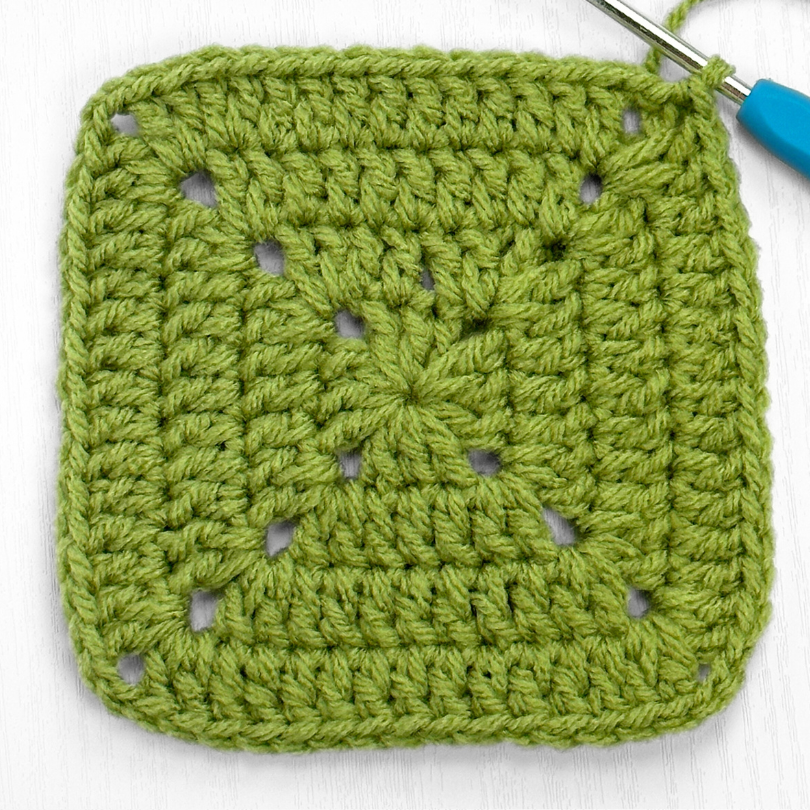
R5: CH 3, DC 1 into the HDC space. DC 1 into each of the next 15 ST. [Into the CH 2 space (corner): DC 2, CH 2, DC 2. DC 15] X3. HDC into the top of the CH 3 space.
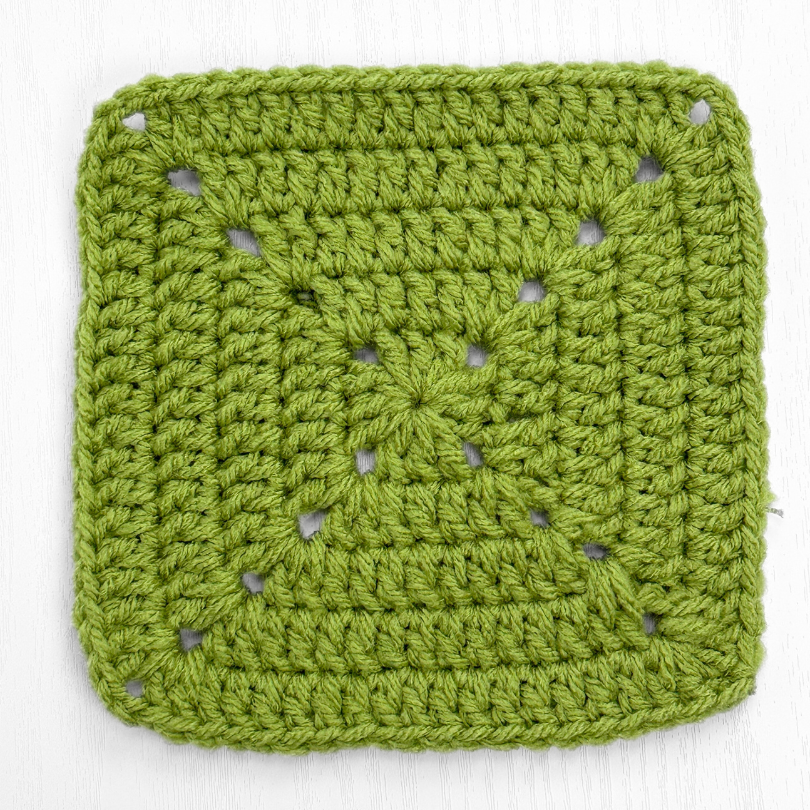
Tie off and weave in any yarn tails. To create a larger square, simply repeat the same pattern, placing 2 DC clusters with a CH 2 in between in each corner space and DC across each side.
In this free crochet pattern, you learned how to crochet a solid granny square!
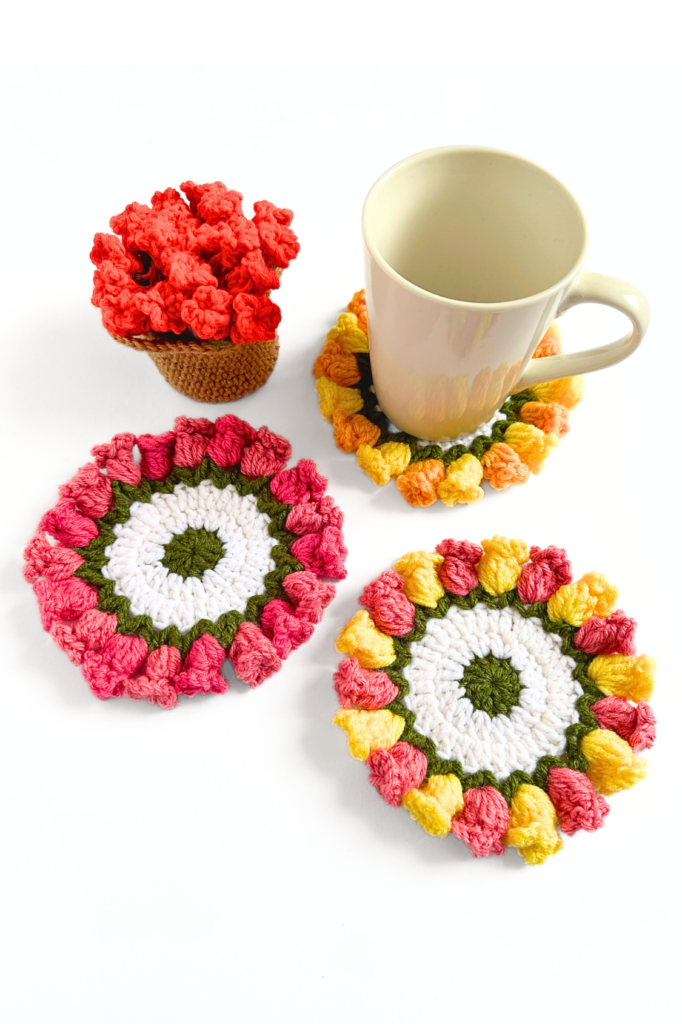
{If you enjoyed this pattern, you’ll love this one: Flower Pot Coaster Set FREE Crochet Pattern + Video Tutorial}
©2024 HyggeCrochetCo All rights reserved. This pattern and its contents are for personal use only. Do not copy, edit, redistribute, or sell this pattern. You are welcome to sell finished products with your own photos in small quantities with credit to HyggeCrochetCo. Thank you and enjoy!