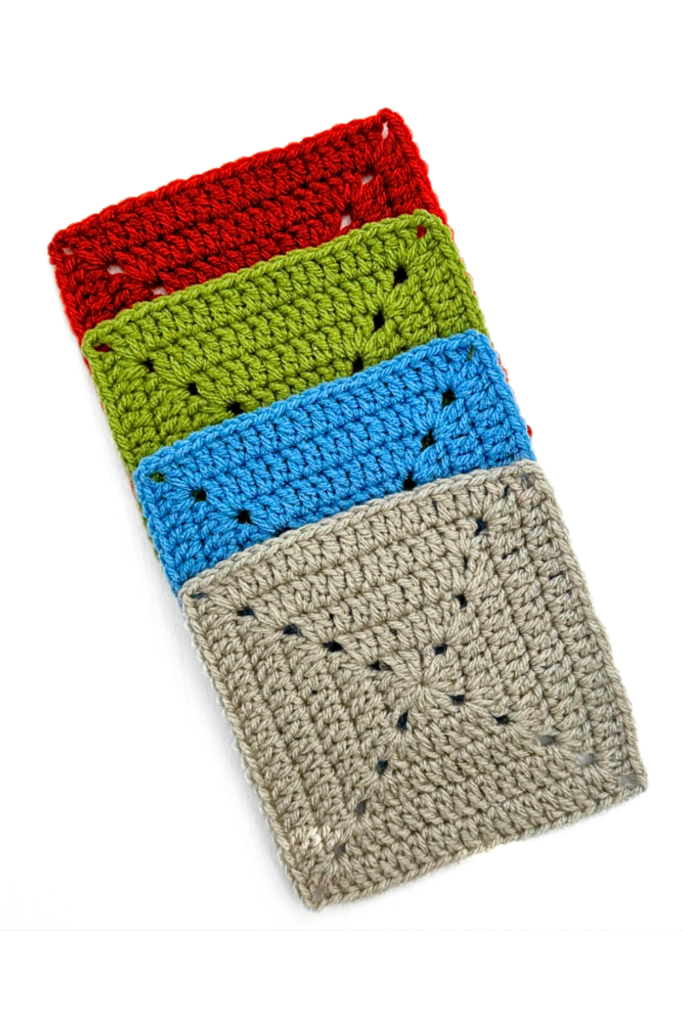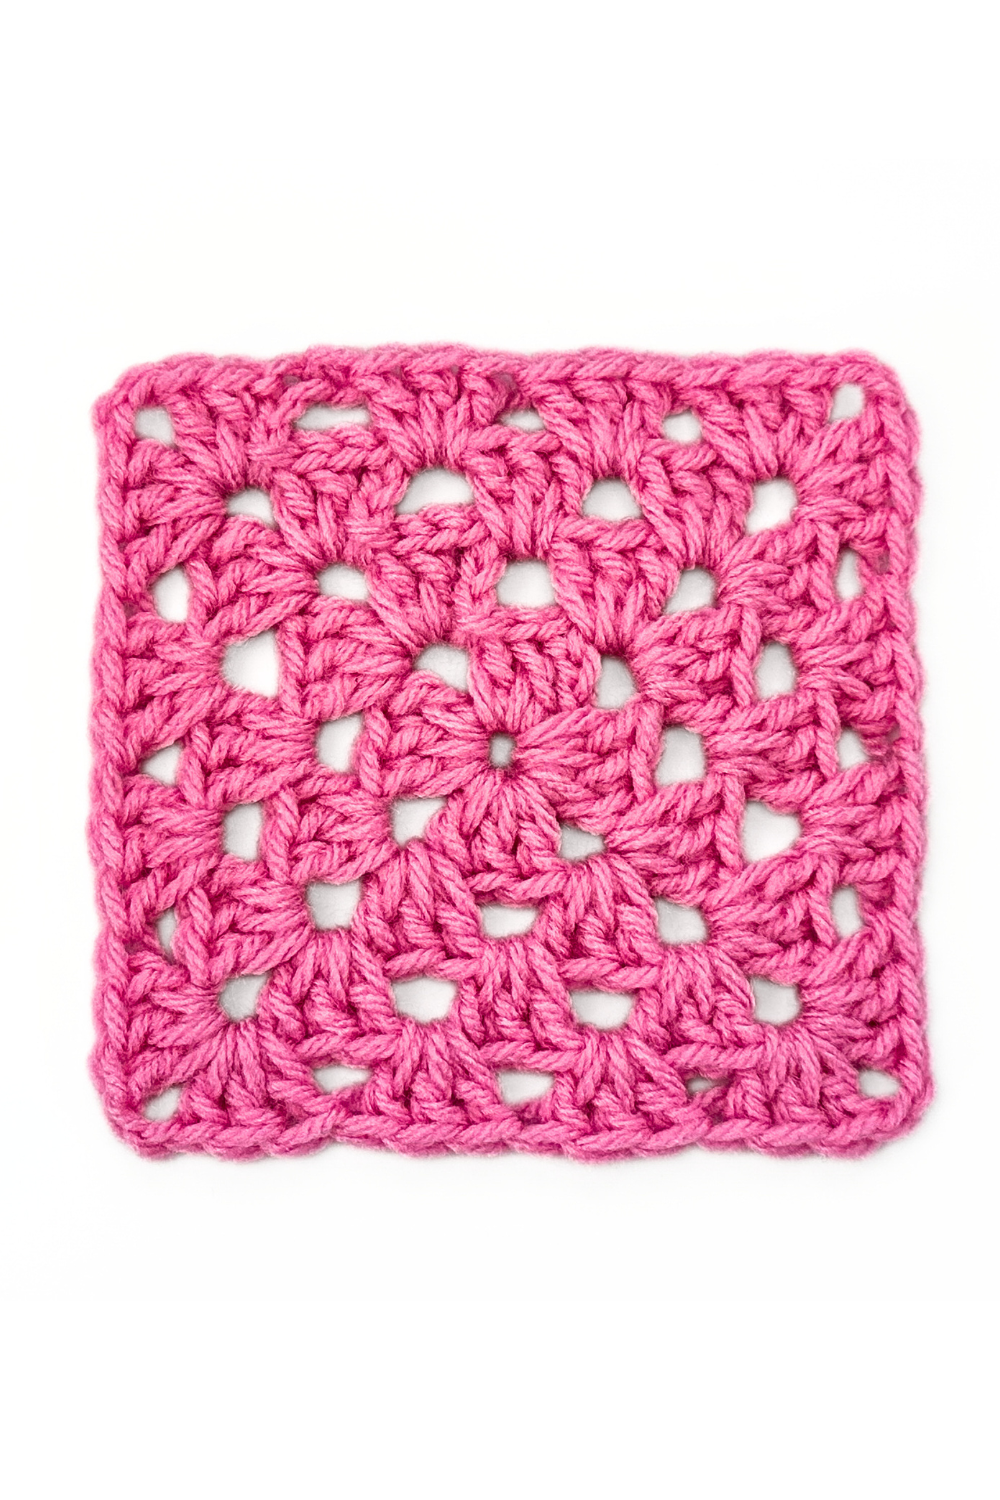
Mastering the crochet granny square is a great way to build your crochet skills while creating a timeless design that’s perfect for a wide variety of projects. This crochet granny square tutorial includes a free crochet pattern along with a step-by-step video tutorial to guide you through each stage.
Whether you’re looking to make a colorful blanket, a cozy scarf, or a unique bag, this easy-to-follow pattern will teach you how to crochet a granny square that you can customize in any color or size.
In this guide, you’ll learn the essential stitches for creating a crochet granny square and get helpful tips to make each square consistent and polished.
This pattern is ideal for beginners wanting to try something simple but rewarding, and it’s a great way to use up leftover yarn in your favorite shades. By the end of this tutorial, you’ll have everything you need to make multiple squares and start turning them into beautiful, handmade pieces.
Ready to dive into this classic crochet project? Grab your yarn and hook, and let’s get started with this easy, fun, and free crochet granny square pattern!
How to Crochet a Granny Square
Learning how to crochet a granny square is all about getting comfortable with the basics, and using the right materials can make a big difference.
To create even, beautiful squares, choose a medium-weight yarn like worsted or DK, which provides a good balance of thickness and stitch definition, making it easier to see your progress and correct any mistakes. Pair your yarn with the recommended crochet hook size (usually 4mm to 5.5mm for these yarns) to keep your stitches consistent and easy to work with.
Don’t like having holes in your crochet granny square? Try making the solid granny square to eliminate holes in your project.
Blocking Granny Squares
Once your crochet granny squares are complete, blocking can give them a professional finish. Blocking helps each square lay flat and become uniform in shape, which is especially useful if you’re joining multiple squares for a larger project.
To block, lightly mist each square with water and gently shape it with your hands. Then, pin the corners to a blocking mat and let them dry completely. This simple step can make your squares look polished and cohesive, ready to be joined into blankets, bags, or any other crochet project you have in mind!
Materials
For this project, I am using Red Heart Super Saver acrylic yarn, but any yarn will work. Acrylic is great for beginners, especially in solid colors.
75-100 yds Medium Weight 4 Yarn – Red Heart Super Saver
5mm Hook (My FAVORITE crochet hooks!)
Optional – Stitch Markers
Optional – Stitch Counter
Both stitch markers and stitch counters are very helpful for those who easily lose track of their row/stitch counts.
STITCHES & TECHNIQUES
CH: Chain
SL: Slip Stitch
ST: Stitch
DC: Double Crochet
PATTERN NOTES
This pattern is not dependent upon gauge or yarn type. Try sizing up or down your yarn weight/hook size to achieve different granny square sizes!
Skill Level – Beginner/Easy
This pattern follows US crochet terms.
Easy Crochet Granny Square Pattern
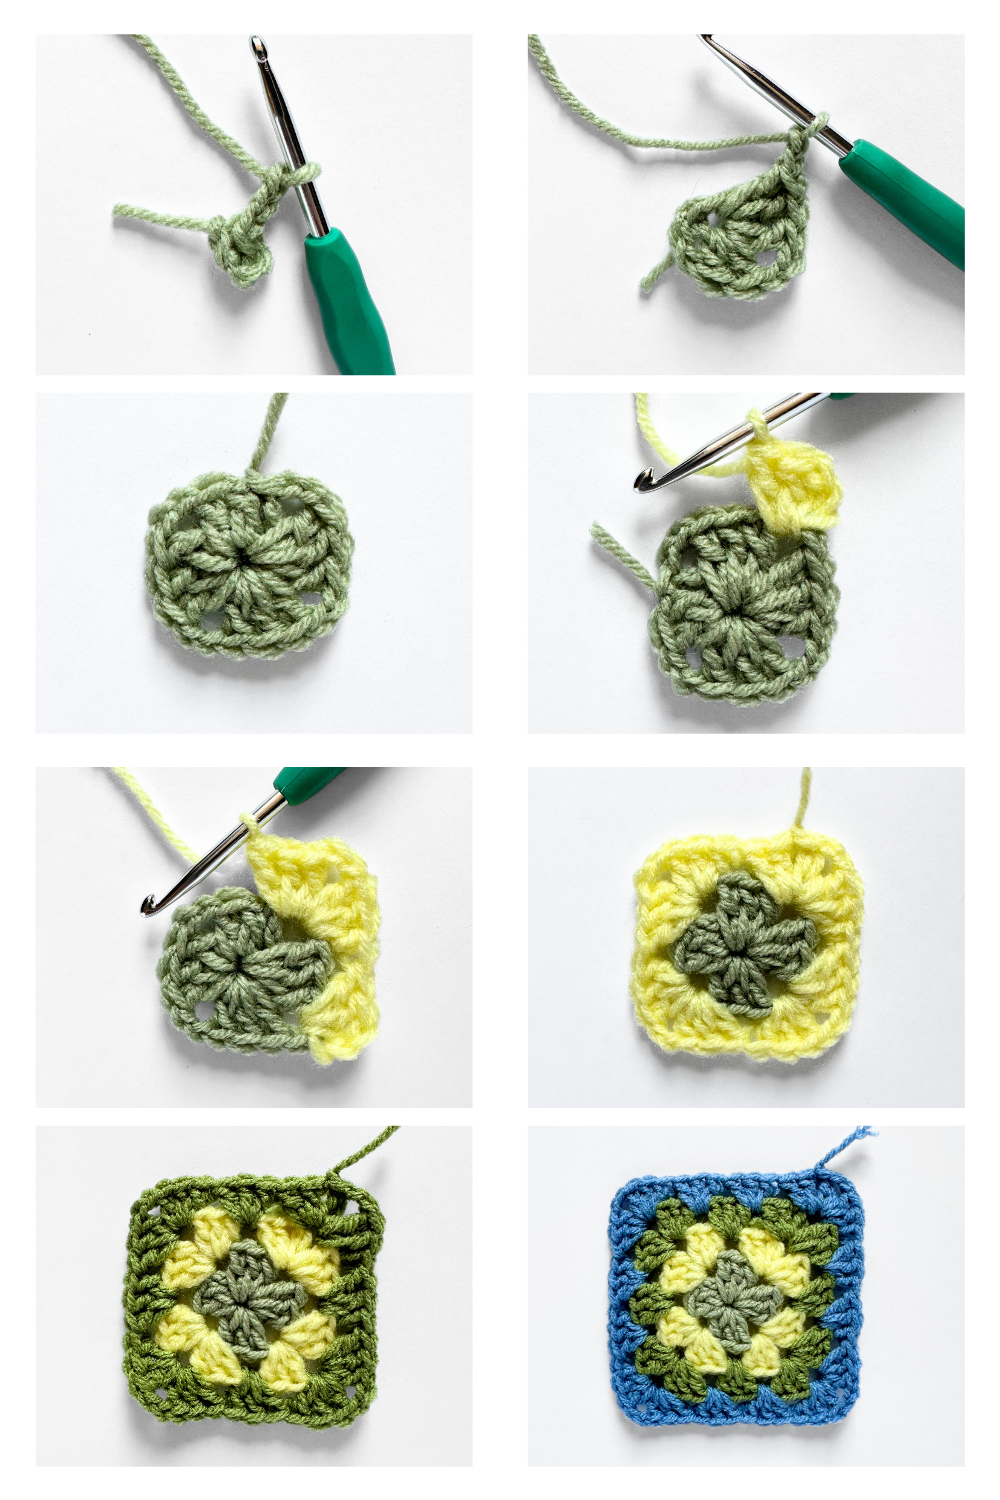
R1: CH 3, SL into the first CH to create a loop. CH 3 (this will count as 1 DC), DC 2 into the loop. [CH 2, DC 3 into the loop] X3. CH 2, SL into the CH 3 space.
If you would like to change yarn colors, attach the new yarn color to the closest CH 2 space.
R2: SL until you reach the closest CH 2 space. CH 3, DC 2 into the same space. [DC 3 into the next space, CH 2, DC 3 into the same space to create the corner] X3.
DC 3 into the first space to finish the corner, CH 2, SL into the CH 3 space.
R3: SL until you reach the closest CH 2 space. CH 3, DC 2 into the same space. [DC 3 into the next space, DC 3 into the following space, CH 2, DC 3 into the same space to create the corner] X3.
DC 3 into the next space, DC 3 into the first space, CH 2, SL into the CH 3 space.
R4: SL until you reach the closest CH 2 space. CH 3, DC 2 into the same space. [DC 3 into the next 2 spaces, DC 3 into the following space, CH 2, DC 3 into the same space to create the corner] X3.
DC 3 into the next 2 spaces, DC 3 into the first space, CH 2, SL into the CH 3 space.
Tie off & weave in any yarn tails. You have finished your crochet granny square!
In this free crochet pattern, you learned to make a crochet granny square!
{If you enjoyed this pattern, you’ll love this one: How to Crochet a Solid Granny Square for Beginners}
©2024 HyggeCrochetCo All rights reserved. This pattern and its contents are for personal use only. Do not copy, edit, redistribute, or sell this pattern. You are welcome to sell finished products with your own photos in small quantities with credit to HyggeCrochetCo. Thank you and enjoy!


