Crochet blocking is a widely-used technique that aims to give a professional and polished look to finished crochet projects.
This article will walk you through the essentials of crochet blocking, including its significance, various methods, necessary materials, and valuable tips for successful blocking. Let’s dive in!
What is Blocking In Crochet?
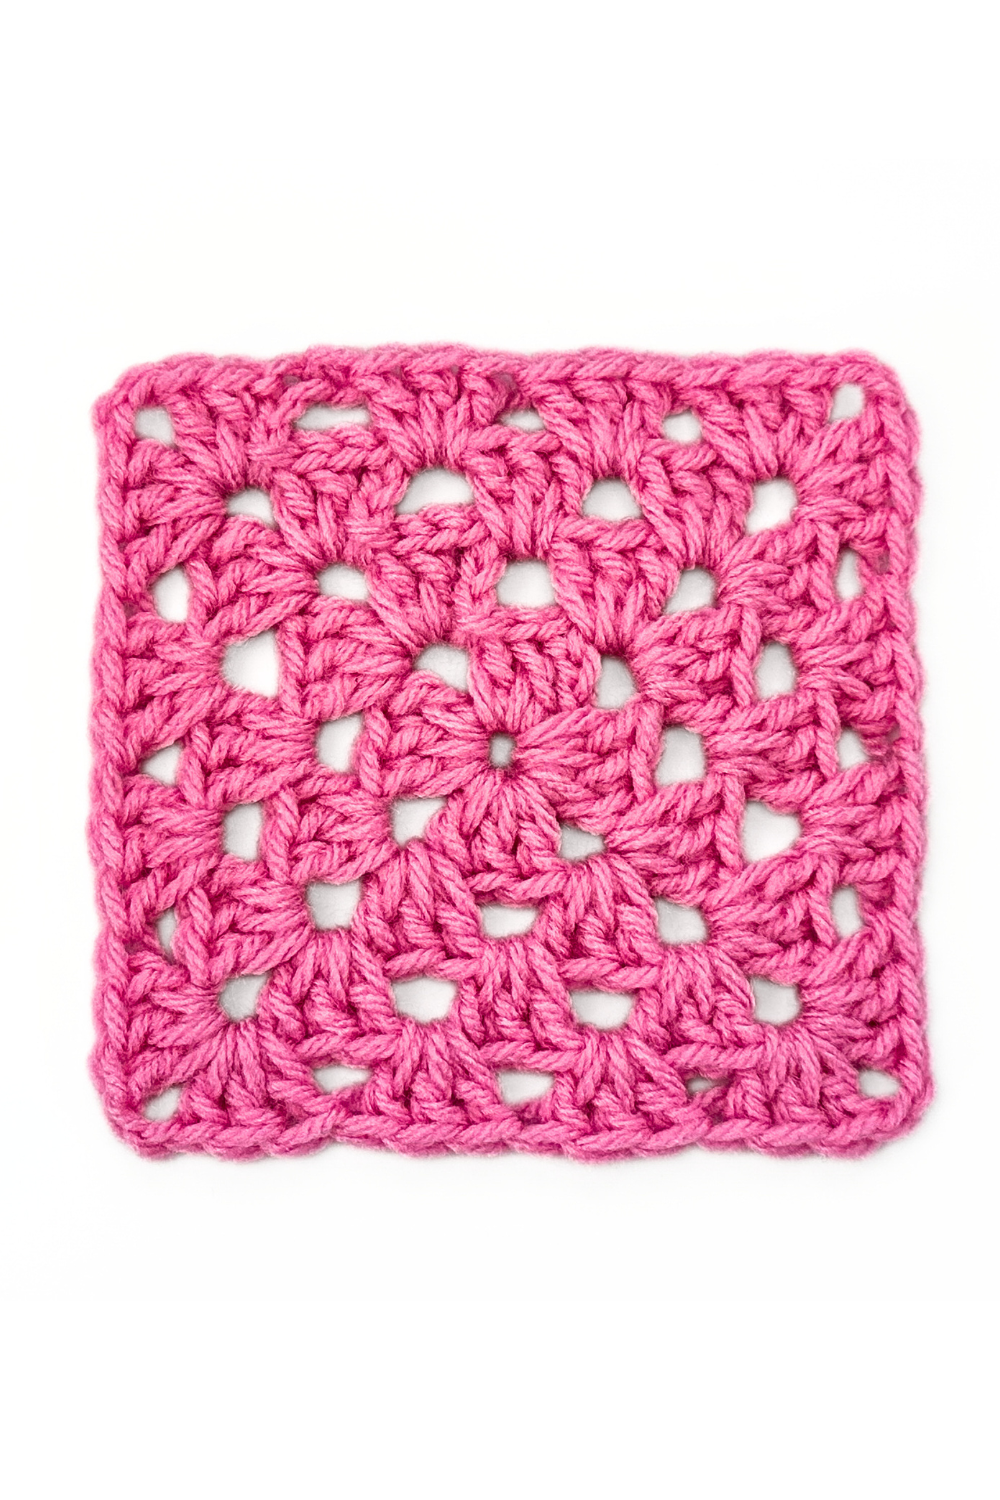
Blocking involves dampening or steaming a completed crochet piece and then shaping it to the desired size while it dries. The technique helps smooth out stitches, relax fibers, and improve the overall appearance of the finished work.
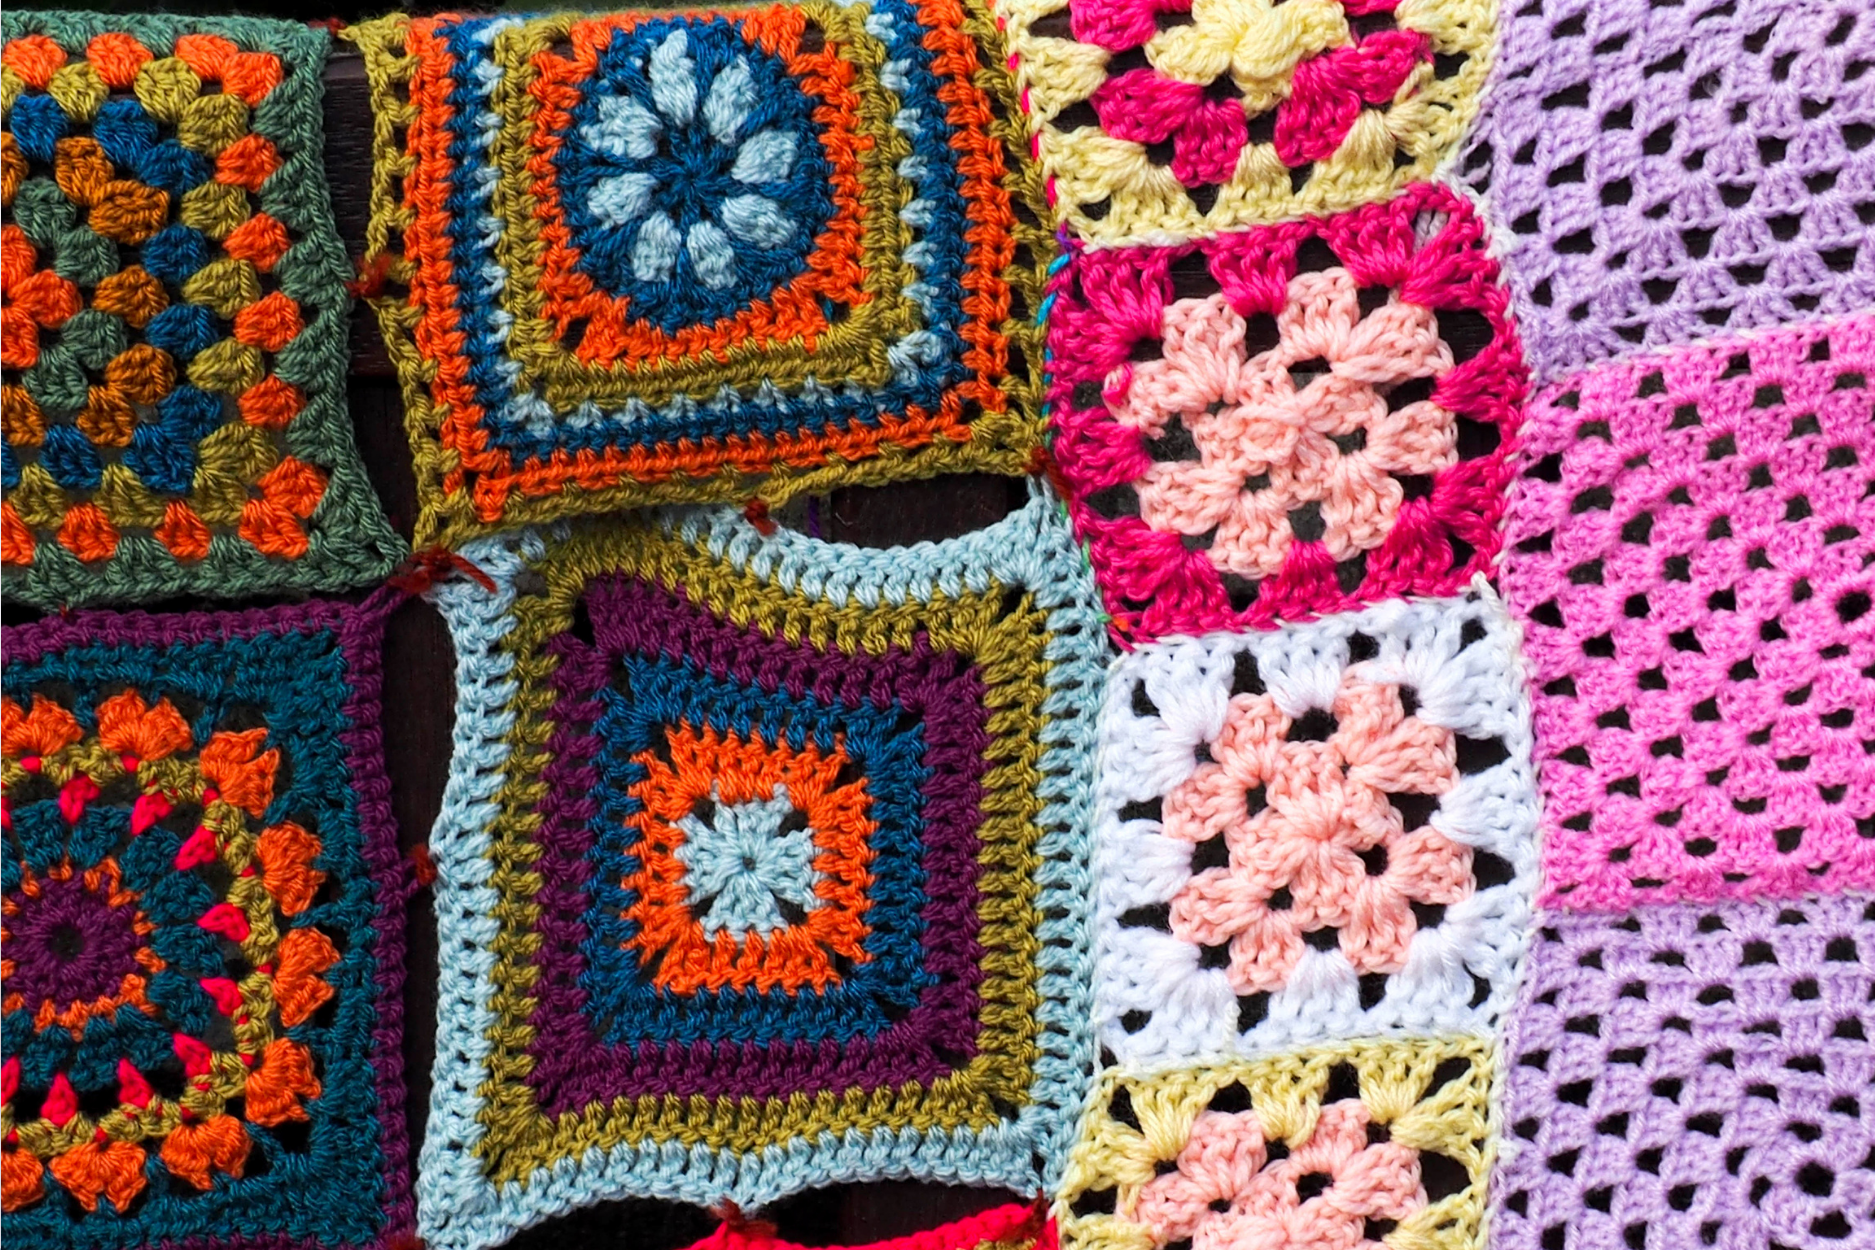
It is particularly beneficial for projects with intricate stitch patterns or those that require assembly, such as granny square afghans.
Why Block Your Crochet Project?
Blocking your crochet projects offers several advantages:
- Improving stitch definition and evening out tension
- Creating uniform edges and sizing for easier assembly
- Softening fibers, resulting in a more comfortable finished project
- Ensuring accurate sizing for garments and accessories
- Showcasing the true beauty of stitch patterns and designs
Crochet Blocking Techniques
There are three primary blocking methods: wet blocking, steam blocking, and spray blocking. Each method has its benefits and is suitable for different types of projects and yarns.
Wet Blocking
Wet blocking entails fully submerging a finished crochet project in water, gently squeezing out the excess water, and pinning it to the desired shape on a blocking surface.
This method is highly effective in producing a crisp, professional finish, especially for lace and intricate stitch patterns. Wet blocking is suitable for natural fibers such as wool, cotton, and linen.
Steam Blocking
Steam blocking involves using a steam iron or a handheld steamer to apply steam to the finished crochet work, then shaping and pinning it to the desired dimensions.
This method is gentler than wet blocking, making it a better option for delicate or heat-sensitive fibers like acrylic, silk, or cashmere.
Spray Blocking
Spray blocking is a milder method that involves spraying the finished crochet work with water and shaping it to the desired dimensions. It’s ideal for projects that require only minor reshaping or those made from fibers that may be damaged by excessive moisture.
This method works well with a variety of yarn types, including cotton, linen, and some acrylic blends.
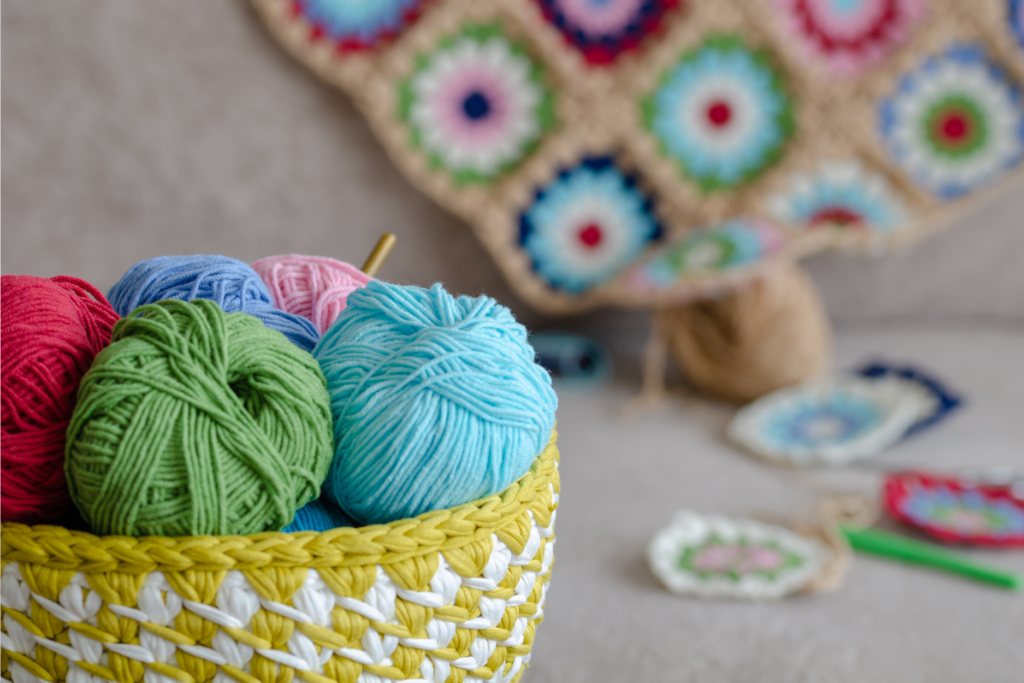
Essential Blocking Materials and Tools
To achieve the best results when blocking your crochet projects, you’ll need some key tools and materials.
Blocking Surfaces
Blocking surfaces provide a flat area on which to pin and shape your crochet projects. They come in various sizes and materials, such as foam, cork, or wood. Some blocking surfaces feature grid lines to help you maintain straight edges and even measurements.
- Foam Puzzle Mats: These interlocking foam tiles often feature a grid pattern and can be customized to fit any project size. They are lightweight, portable, and easy to store. Foam puzzle mats are also an affordable option for beginners.
- Blocking Boards: Designed specifically for blocking, these boards have a sturdy construction, grid lines, and a moisture-resistant surface. They may be made of wood or dense foam, providing a more professional option for experienced crafters.
- Cork Tiles: Cork tiles are another customizable blocking surface that can be assembled according to your project size. They offer a natural, eco-friendly option with a slightly textured surface that holds pins well.
- Towel-covered Cardboard or Foam Core: In a pinch, you can use a large piece of cardboard or foam core covered with a clean towel. This makeshift blocking surface works well for small projects or occasional use. Just make sure to use rust-resistant pins to avoid damaging your crochet piece.
- Commercial Blocking Mats: These are specifically designed blocking surfaces made from high-quality materials. Commercial blocking mats often come with grid lines and a non-slip surface for secure pinning. These mats provide a durable, long-lasting option for avid crocheters.
T-pins and Blocking Wires
T-pins are used to secure your crochet project to the blocking surface while it dries. They should be rust-resistant to avoid staining your work. Blocking wires can be used to create straight edges and maintain consistent tension throughout the piece. They are particularly useful for projects with long edges, such as wraps and scarves.
- Steel T-Pins: Steel T-pins are a popular choice for blocking crochet projects. They are sturdy, rust-resistant, and have a sharp point for easy insertion into the blocking surface. These pins are suitable for a variety of yarn types and thicknesses.
- Nickel-Plated T-Pins: Nickel-plated T-pins provide an additional layer of rust resistance, making them ideal for long-term use and projects that may require extended drying times. They are also strong and sharp, ensuring a secure hold on your project.
- Stainless Steel T-Pins: Stainless steel T-pins offer excellent rust resistance and durability, making them perfect for frequent use. These pins are reliable and provide a strong grip on your crochet project during the blocking process.
- Plastic-Head Pins: These T-pins feature a plastic head, making them easier to grasp and remove from your project. They are often available in various colors, allowing for better visibility on your blocking surface. Ensure that the pins you choose are rust-resistant to avoid staining your crochet work.
As for blocking wires, there are a few options to consider:
- Stainless Steel Blocking Wires: Rigid blocking wires are made from stiff materials like stainless steel, providing more structure and support for your project during the blocking process. These wires are perfect for creating straight edges and consistent tension, particularly in large projects with long, straight sides.
- DIY Blocking Wires: If you’re on a budget, you can create your own blocking wires using materials like welding rods or straightened metal coat hangers. Ensure the wires are clean, smooth, and rust-resistant before using them on your crochet projects.
Each type of T-pin and blocking wire has its advantages, and the choice will depend on your preferences, budget, and the specific requirements of your crochet projects. Using the right pins and wires will help ensure a successful blocking experience and a polished, professional finish for your creations.
Measuring Implements
Measuring tapes or craft rulers help ensure that your project is blocked to the correct dimensions. They are especially important for garments and accessories that need to fit properly.
How to Block Your Crochet Project
Once you have your materials and tools ready, it’s time to start the blocking process.
Preparing Your Crochet Piece
Before you begin, carefully examine your finished crochet project. Weave in any loose ends and trim excess yarn. Ensure the item is clean and free of any debris.
Selecting the Appropriate Blocking Method
Choose the appropriate blocking method based on the fiber content of your yarn and the desired finish for your project.
Remember that wet blocking is best for natural fibers and intricate stitch patterns, steam blocking is suitable for delicate or heat-sensitive fibers, and spray blocking is ideal for minor reshaping or projects made from fibers that can be damaged by excessive moisture.
Blocking Techniques
Follow the steps for the chosen blocking method:
- Wet Blocking: Immerse your project in lukewarm water for about 15-30 minutes. Gently press out excess water without wringing, then roll the item in a clean towel to remove more moisture. Lay the project onto the blocking surface and pin it into the desired shape using T-pins or blocking wires.
- Steam Blocking: Place your crochet project on the blocking surface and shape it to the desired dimensions. Hold the steam iron or handheld steamer about an inch above the project, applying steam evenly. Use T-pins or blocking wires to secure the project in place while it cools and dries.
- Spray Blocking: Pin your crochet project to the blocking surface in the desired shape. Using a spray bottle, mist the project with water until it’s damp but not soaked. Allow the project to dry completely.
Expert Tips for Successful Crochet Blocking
Choosing the Right Fibers
Some fibers respond better to blocking than others. Natural fibers, like wool and cotton, usually block well, while synthetic fibers, like acrylic, may require more care and attention.
For more on choosing the best yarn for your next project, check out our articles:
Is Acrylic Yarn Good for Crochet? Pros & Cons of Acrylic Yarn
The Best Yarn for Crochet Summer Clothing
Best Cotton Yarn for Crochet: The Complete Guide
Patience and Practice
Blocking is a skill that improves with practice. Be patient, take your time, and learn from each project. With experience, you’ll develop a better understanding of how different fibers and stitch patterns react to blocking.
Caring for Blocked Items
To maintain the shape and appearance of your blocked crochet projects, always follow the care instructions for the yarn used. Hand-washing and drying flat are often recommended to preserve the results of blocking.
Wrapping Up
Mastering crochet blocking is an essential skill for any crochet enthusiast seeking to give their projects a professional finish. By understanding the different methods, materials, and techniques, you can enhance the beauty and wearability of your creations. With patience and practice, you’ll become adept at crochet blocking, producing stunning pieces you can be proud to display.
FAQs
1. Do all crochet projects need blocking?
Not all crochet projects require blocking, but it’s highly recommended for projects with intricate stitch patterns or those that need assembly. Blocking can improve the appearance and drape of your finished piece, making it look more polished and professional.
2. Can I block acrylic yarn?
Yes, you can block acrylic yarn, but it’s essential to use the appropriate method. Steam blocking is often the best choice for acrylic fibers since they can be heat-sensitive. Avoid fully submerging acrylic projects in water as it may cause them to lose their shape.
3. How long does it take for a blocked project to dry?
The drying time for a blocked project depends on several factors, including the blocking method used, the type of yarn, and the thickness of the project. It can take anywhere from a few hours to several days for a project to dry completely. Ensure your project is entirely dry before removing it from the blocking surface to maintain its shape.
4. Can I reuse my blocking surface and pins for multiple projects?
Yes, you can reuse your blocking surface and pins for multiple projects. Just make sure to clean them regularly to prevent any residue or dirt from transferring to your crochet projects.
5. What should I do if my project doesn’t hold its shape after blocking?
If your project doesn’t maintain its shape after blocking, you may need to repeat the process or try a different blocking method. For stubborn projects, consider using a stronger blocking method, like wet blocking or steam blocking, to achieve better results. Be patient and remember that practice makes perfect.
6. Can I block a project made of mixed fibers?
Yes, you can block a project made of mixed fibers. However, it is essential to choose the right blocking method that is suitable for the most delicate or heat-sensitive fiber in the mix. Be cautious and follow the care instructions for each type of fiber to ensure the best results.
7. Will blocking affect the color of my yarn?
Blocking should not affect the color of your yarn if you follow the appropriate method and care instructions. However, it’s essential to use rust-resistant T-pins to avoid any potential staining from rust. Additionally, make sure to block similar colors together to prevent any color bleeding.
8. How often should I block my crochet projects?
The frequency of blocking your crochet projects depends on the item’s usage and care requirements. For garments and accessories, it may be necessary to re-block after each washing to maintain the desired shape and appearance. For decorative items, blocking may only be required occasionally or after cleaning.
9. Can I block a project that has already been used or worn?
Yes, you can block a project that has already been used or worn. Just make sure to clean the item first, following the care instructions for the yarn. Then, choose the appropriate blocking method and proceed as usual.
10. Is there a way to unblock a crochet project?
If you need to unblock a crochet project, you can try soaking it in water or applying steam to relax the fibers and then gently reshape it. Keep in mind that unblocking might not entirely reverse the effects of the initial blocking, especially if the project has been blocked multiple times or the fibers have been stretched significantly.
-
-

Garden Fairy Crop Top FREE Crochet Pattern
Want the full AD-Free, printable PDF version of this pattern? Click here to get it on Etsy The Garden Fairy Top is a fantastical and fun crochet project and, by far, one of my favorite designs. This crochet top can be fully customized for the amount of coverage you need and uses measurement-based sizing, so…
-
Easy Crochet Granny Square Pattern + Video Tutorial
Mastering the crochet granny square is a great way to build your crochet skills while creating a timeless design that’s perfect for a wide variety of projects. This crochet granny square tutorial includes a free crochet pattern along with a step-by-step video tutorial to guide you through each stage. Whether you’re looking to make a…

2 comments
Comments are closed.