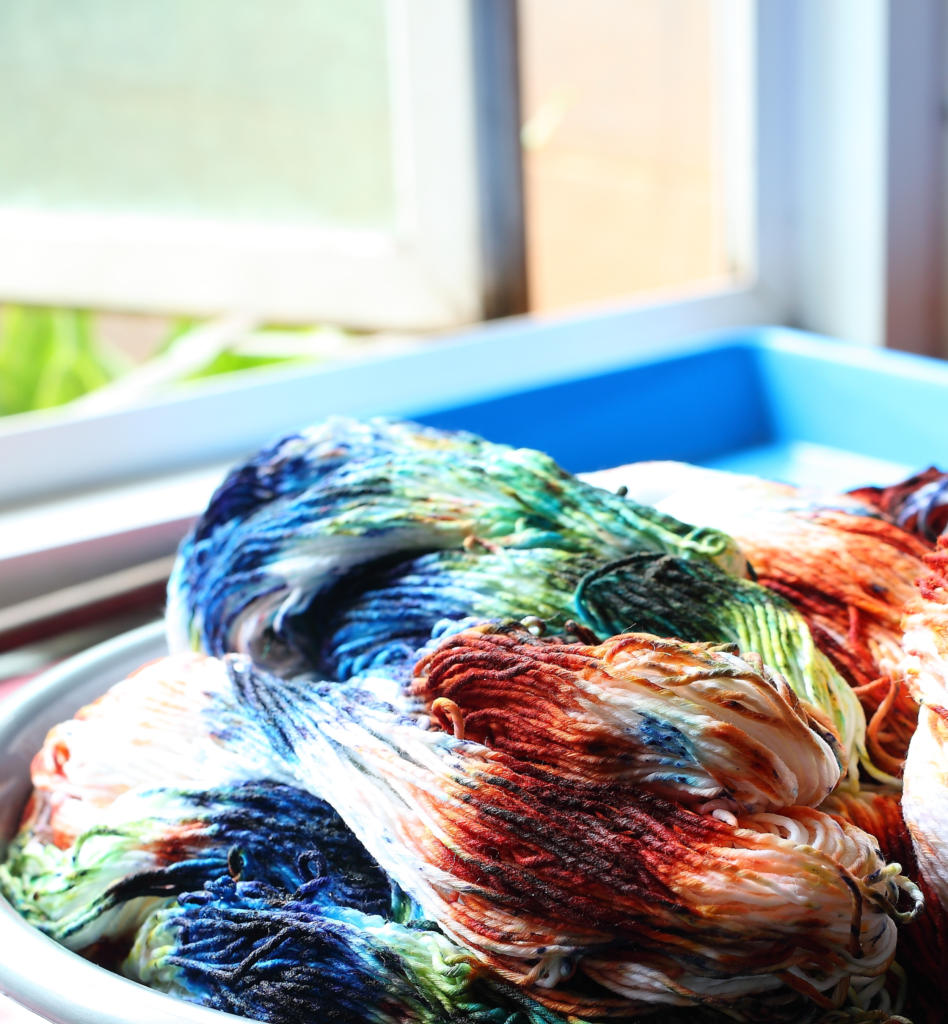
Dyeing yarn can be a fun and creative way to add a personal touch to your knitting or crochet projects. One of the easiest and most cost-effective methods of dyeing yarn is using Kool-Aid. In this article, we’ll provide you with a step-by-step guide on how to dye protein fiber yarn with Kool-Aid.
Materials Needed for Dying Yarn with Kool-Aid
To dye protein fiber yarn with Kool-Aid, you’ll need the following materials:
- Protein fiber yarn (such as sheep wool, alpaca, silk, cotton, etc.) For an in-depth guide to choosing the best cotton yarns, check out our article Best Cotton Yarn for Crochet: The Complete Guide
- Kool-Aid packets (2-3 packets for every 100g of yarn)
- Vinegar
- Large pot
- Measuring cup
- Spoon
- Strainer
- Plastic wrap
- Rubber gloves
Preparing Your Yarn
To prepare your yarn for dyeing, you’ll need clean, untreated, protein fiber yarn. You can purchase natural yarn at a local craft store or online.
Before dyeing the yarn, soak it in a mixture of water and vinegar. Combine one part vinegar with four parts water in a large pot and simmer the yarn in the mixture for around 30 minutes. This will help the yarn absorb the dye more evenly.
Once the yarn has simmered for 30 minutes, remove it from the pot and allow it to cool down. You can squeeze out any excess water, but avoid twisting or wringing the yarn.
Preparing the Dye Bath
Now, it’s time to prepare the Kool-Aid dye bath. Choose your desired Kool-Aid packets and mix them with a small amount of water to create a paste. The more packets you use, the more vibrant the color will be. Use 2-3 packets of Kool-Aid for every 100g of yarn.
Next, fill a large pot with water and bring it to a simmer. Add the Kool-Aid paste to the water and stir well.
Dyeing Your Yarn
With the dye bath prepared, it’s time to dye the yarn. Wearing rubber gloves, carefully place the yarn into the dye bath. Use a spoon to gently press down the yarn to ensure it’s fully immersed in the dye bath.
Simmer the yarn in the dye bath for around 30 minutes, stirring occasionally to ensure even dyeing. The longer you simmer the yarn, the darker the color will be. Keep in mind that the color will appear lighter when the yarn is wet.
Setting the Dye
Once you’ve simmered the yarn for 30 minutes, turn off the heat and let the yarn cool down completely. After it has cooled, rinse the yarn in cool water until the water runs clear. Avoid twisting or wringing the yarn during the rinsing process.
Lay the yarn on a clean towel and roll it up to remove excess water. Hang the yarn to dry in a well-ventilated area, away from direct sunlight.
Experimenting with Colors
Now that you’ve mastered the basics of dyeing protein fiber yarn with Kool-Aid, feel free to experiment with different colors and techniques. You can mix different Kool-Aid flavors to create unique shades of color or try dip-dyeing or tie-dyeing techniques.

Tips and Tricks
- Be cautious when handling hot water and dye.
- Keep in mind that the final color of the yarn may vary depending on the type of protein fiber, the amount of Kool-Aid used, and the duration of simmering.
- Avoid overcrowding
- Use a dedicated pot and utensils: It’s best to use a pot and utensils that you won’t be using for cooking to avoid any cross-contamination with food.
- Protect your work surface: Cover your work surface with plastic or newspaper to avoid staining it with dye.
- Wear old clothes: Dyeing yarn can be messy, so it’s best to wear old clothes that you don’t mind getting stained.
- Experiment with color combinations: Try mixing different Kool-Aid flavors to create unique shades of color. You can also experiment with layering colors or creating ombre effects.
- Use a thermometer: For best results, it’s recommended to heat the dye bath to around 180-200°F. Using a thermometer can help you ensure that the temperature stays within the optimal range.
- Try different dyeing techniques: In addition to dip-dyeing or tie-dyeing, you can also try kettle-dyeing or hand-painting your yarn to create unique effects.
- Use a mordant for brighter colors: While vinegar can help the yarn absorb the dye more evenly, using a mordant such as alum can help the yarn achieve brighter and more vibrant colors.
- Keep records: If you plan on dyeing multiple skeins of yarn, be sure to keep records of the amount of Kool-Aid and vinegar used, as well as the duration of simmering. This will help you achieve consistent results in the future.
Conclusion
Dyeing protein fiber yarn with Kool-Aid is a simple and enjoyable way to add some color to your knitting or crochet projects. By following the steps outlined above, you’ll be able to create beautiful and unique yarns that are sure to impress. Whether you’re a seasoned knitter or just starting out, dyeing your yarn with Kool-Aid is a fun way to personalize your projects.
FAQs
- How long will the color last on my dyed yarn?
- The color of your dyed yarn should last for a long time with proper care. However, keep in mind that over time, the color may start to fade.
- Can I mix different Kool-Aid flavors to create a new color?
- Yes, you can mix different Kool-Aid flavors to create unique shades of color.
- Can I use a microwave to dye my yarn with Kool-Aid?
- While it’s possible to use a microwave, we recommend using a stove for better control over the dyeing process.
With these tips and tricks in mind, you’re well on your way to mastering the art of dyeing protein fiber yarn with Kool-Aid. So go ahead and let your creativity run wild with all the possibilities of colors and techniques available to you. Happy dyeing!
-
Garden Fairy Crop Top FREE Crochet Pattern
Want the full AD-Free, printable PDF version of this pattern? Click here to get it on Etsy The Garden Fairy Top is a fantastical and…
-
Easy Crochet Granny Square Pattern + Video Tutorial
Mastering the crochet granny square is a great way to build your crochet skills while creating a timeless design that’s perfect for a wide variety…
-
Easy Crochet Heart Coaster FREE Pattern
Add a sweet touch to your home decor with this Easy Crochet Heart Coaster pattern! Perfect for Valentine’s Day or any time you want to…


